The Best Christmas Leftovers Recipe Is Made In An Air Fryer

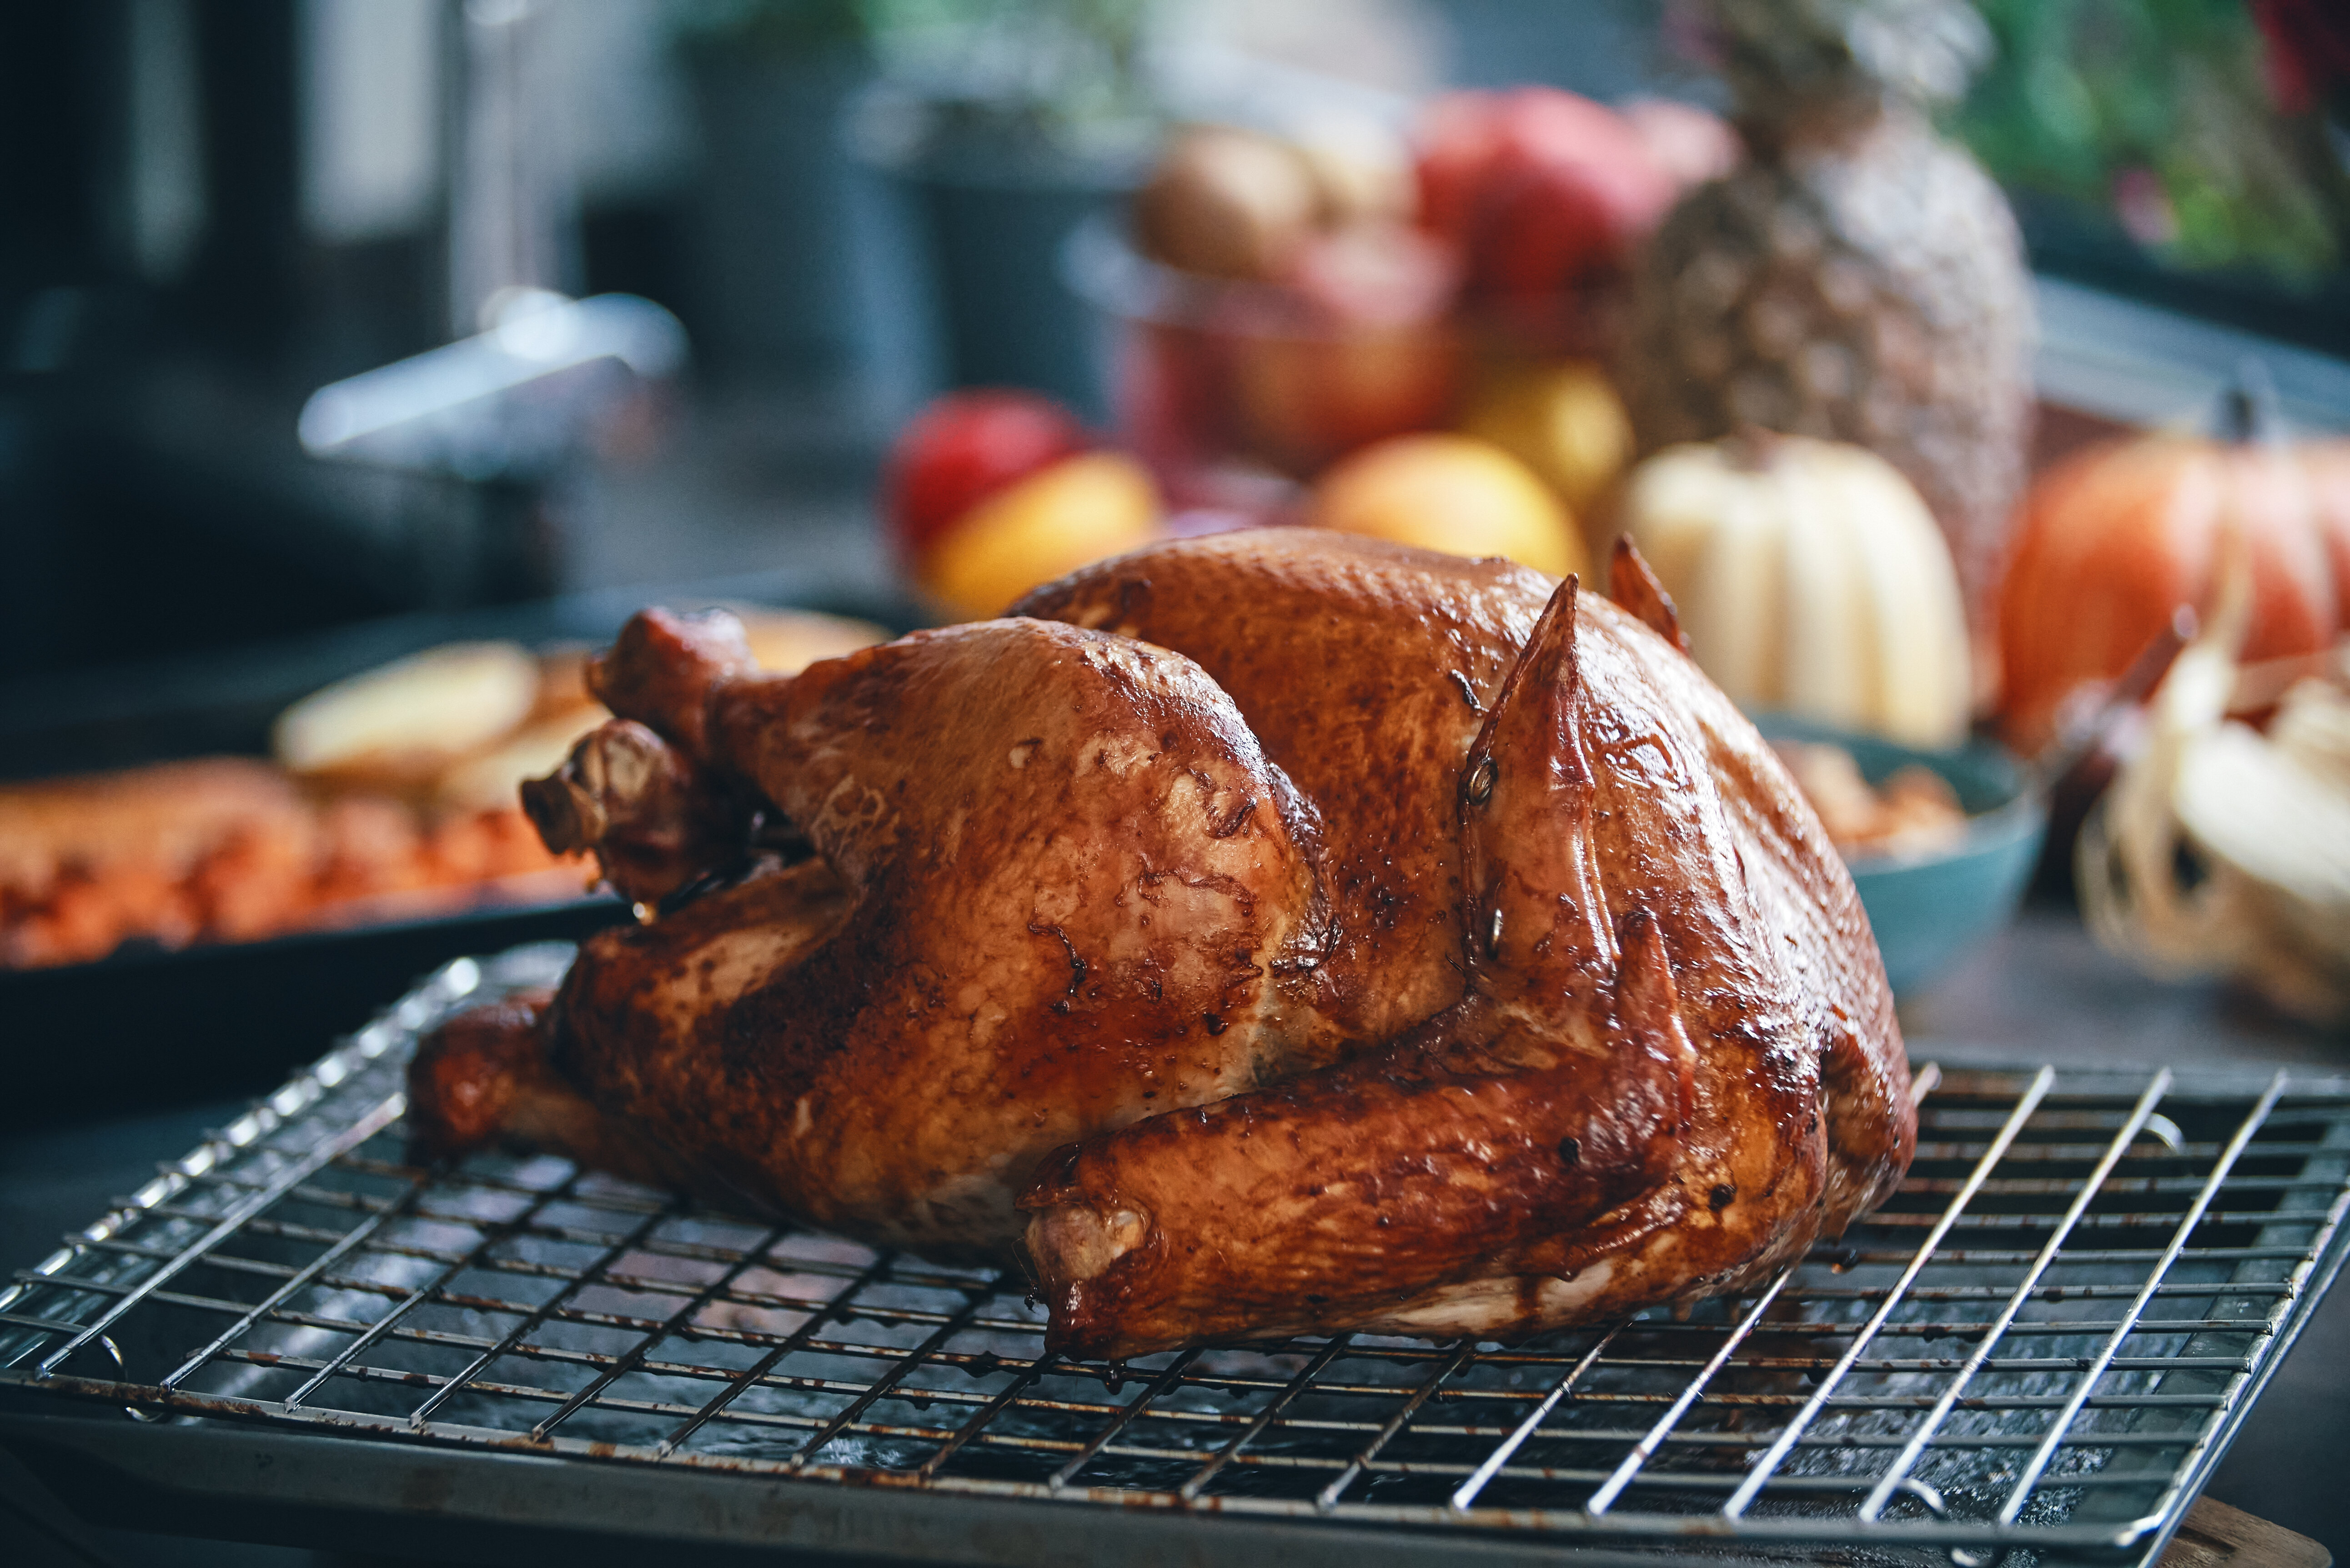
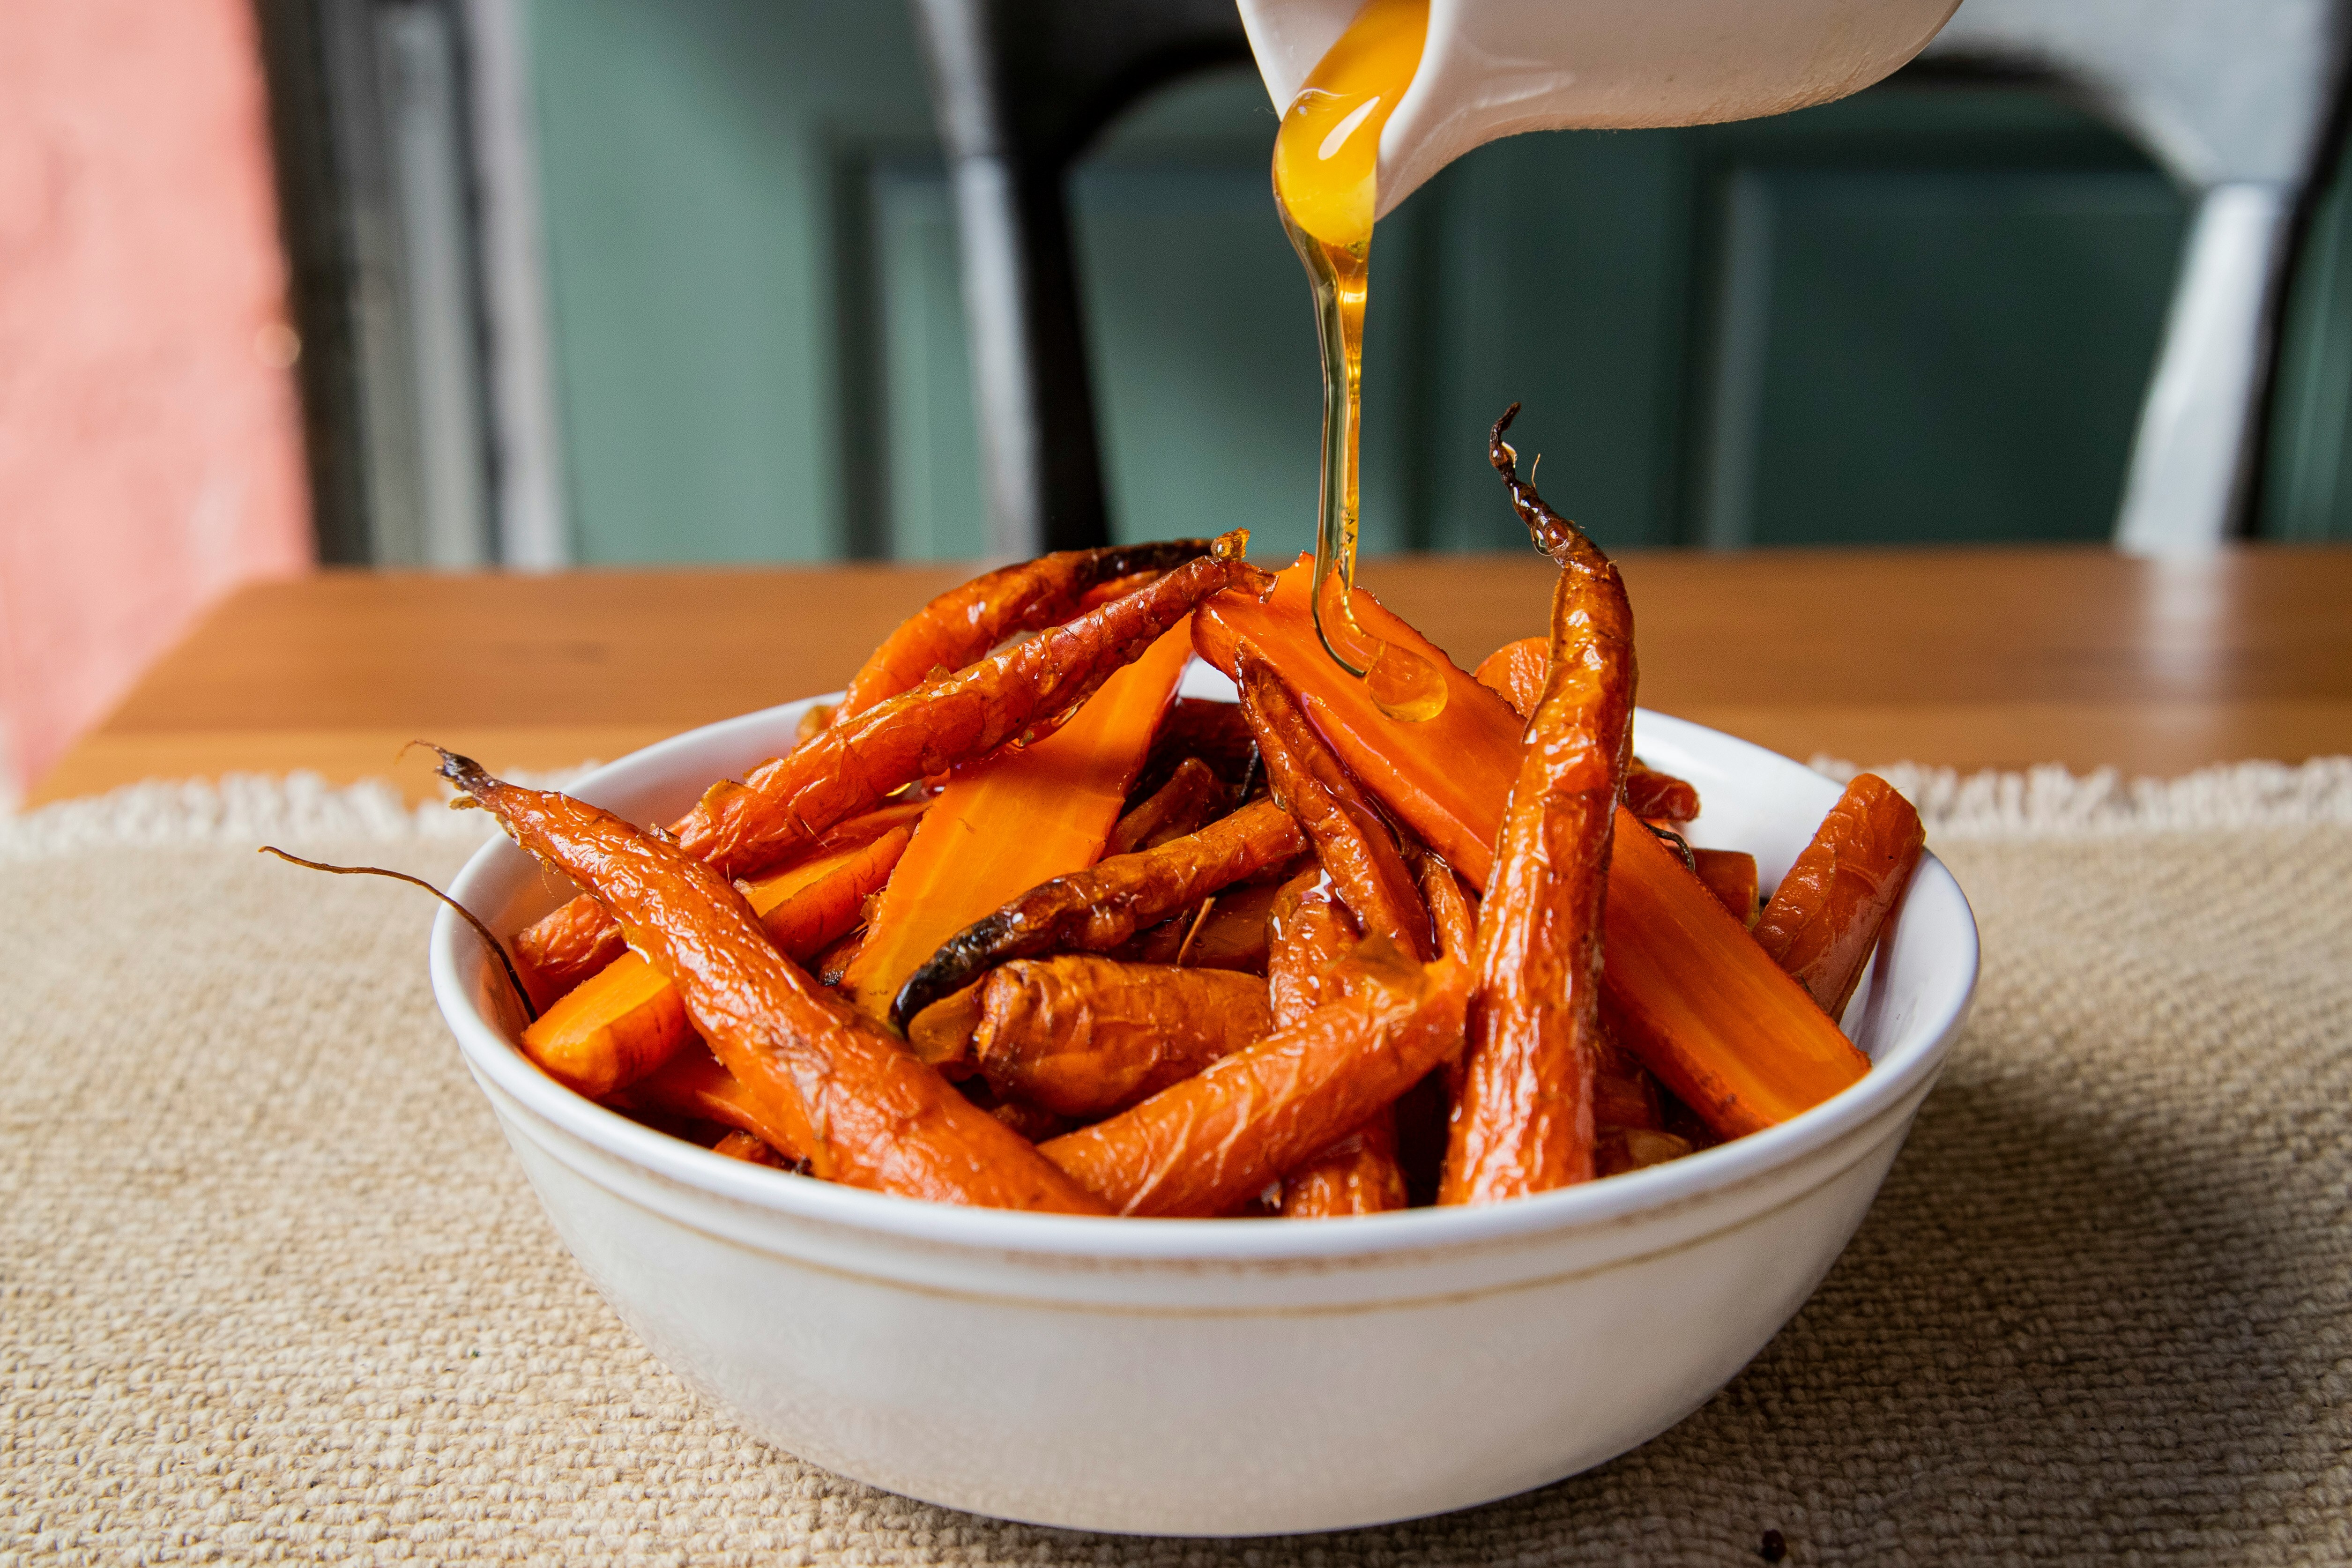
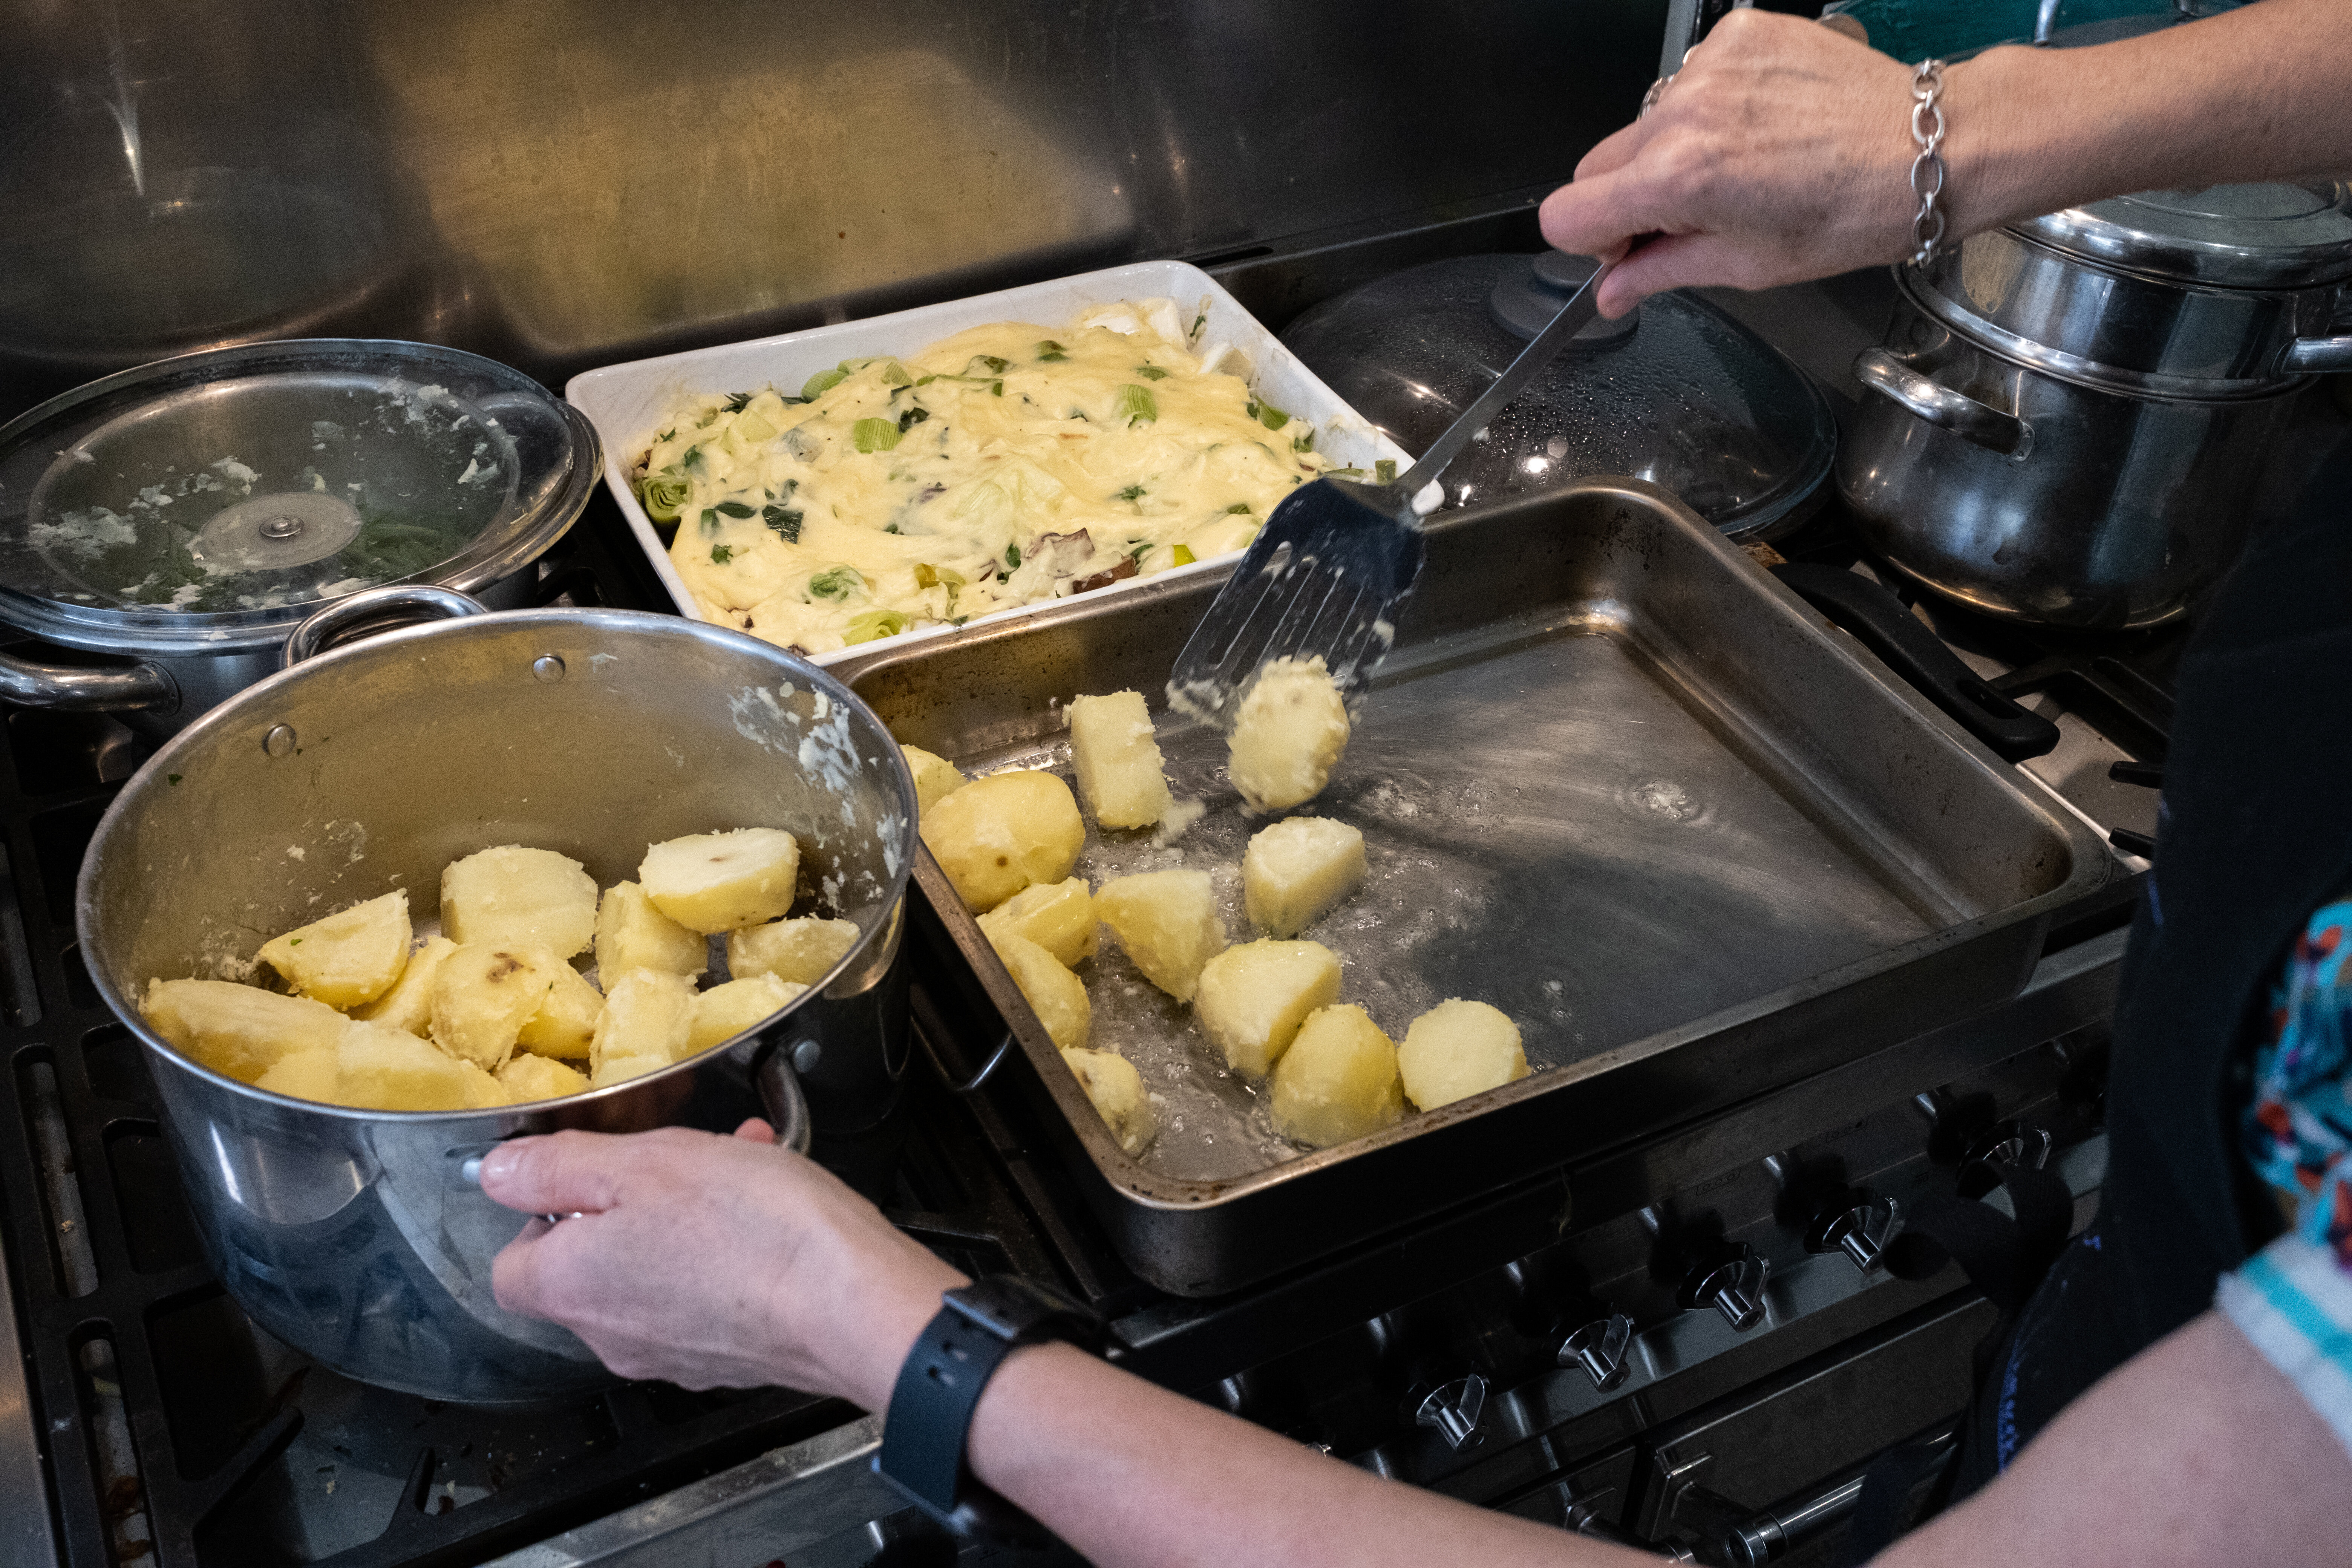
Don’t get me wrong ― I love leftovers. But after day two of bubble and squeak and this (delicious) roast potato hash, I’m getting desperate for a different way to repackage my uneaten roast veggies.

Thankfully, the best recipe I’ve found is a fuss-free air fryer recipe that creates zero washing-up ― an easy, goes-with-everything air fryer frittata.

Back in June, TikToker and nutritionist Emma Claire shared a foolproof recipe for air fryer frittatas that’s ready in under 15 minutes ― and having recently tried a Christmas leftover variation, I can confirm that it’s as delicious as it is easy.

To start with, you’ll need to line the airy fryer basket with baking paper so that it covers the sides of the basket, too. You can also use specially-designed paper air fryer inserts if you have them ― so long as the base and sides are protected from the eggs.

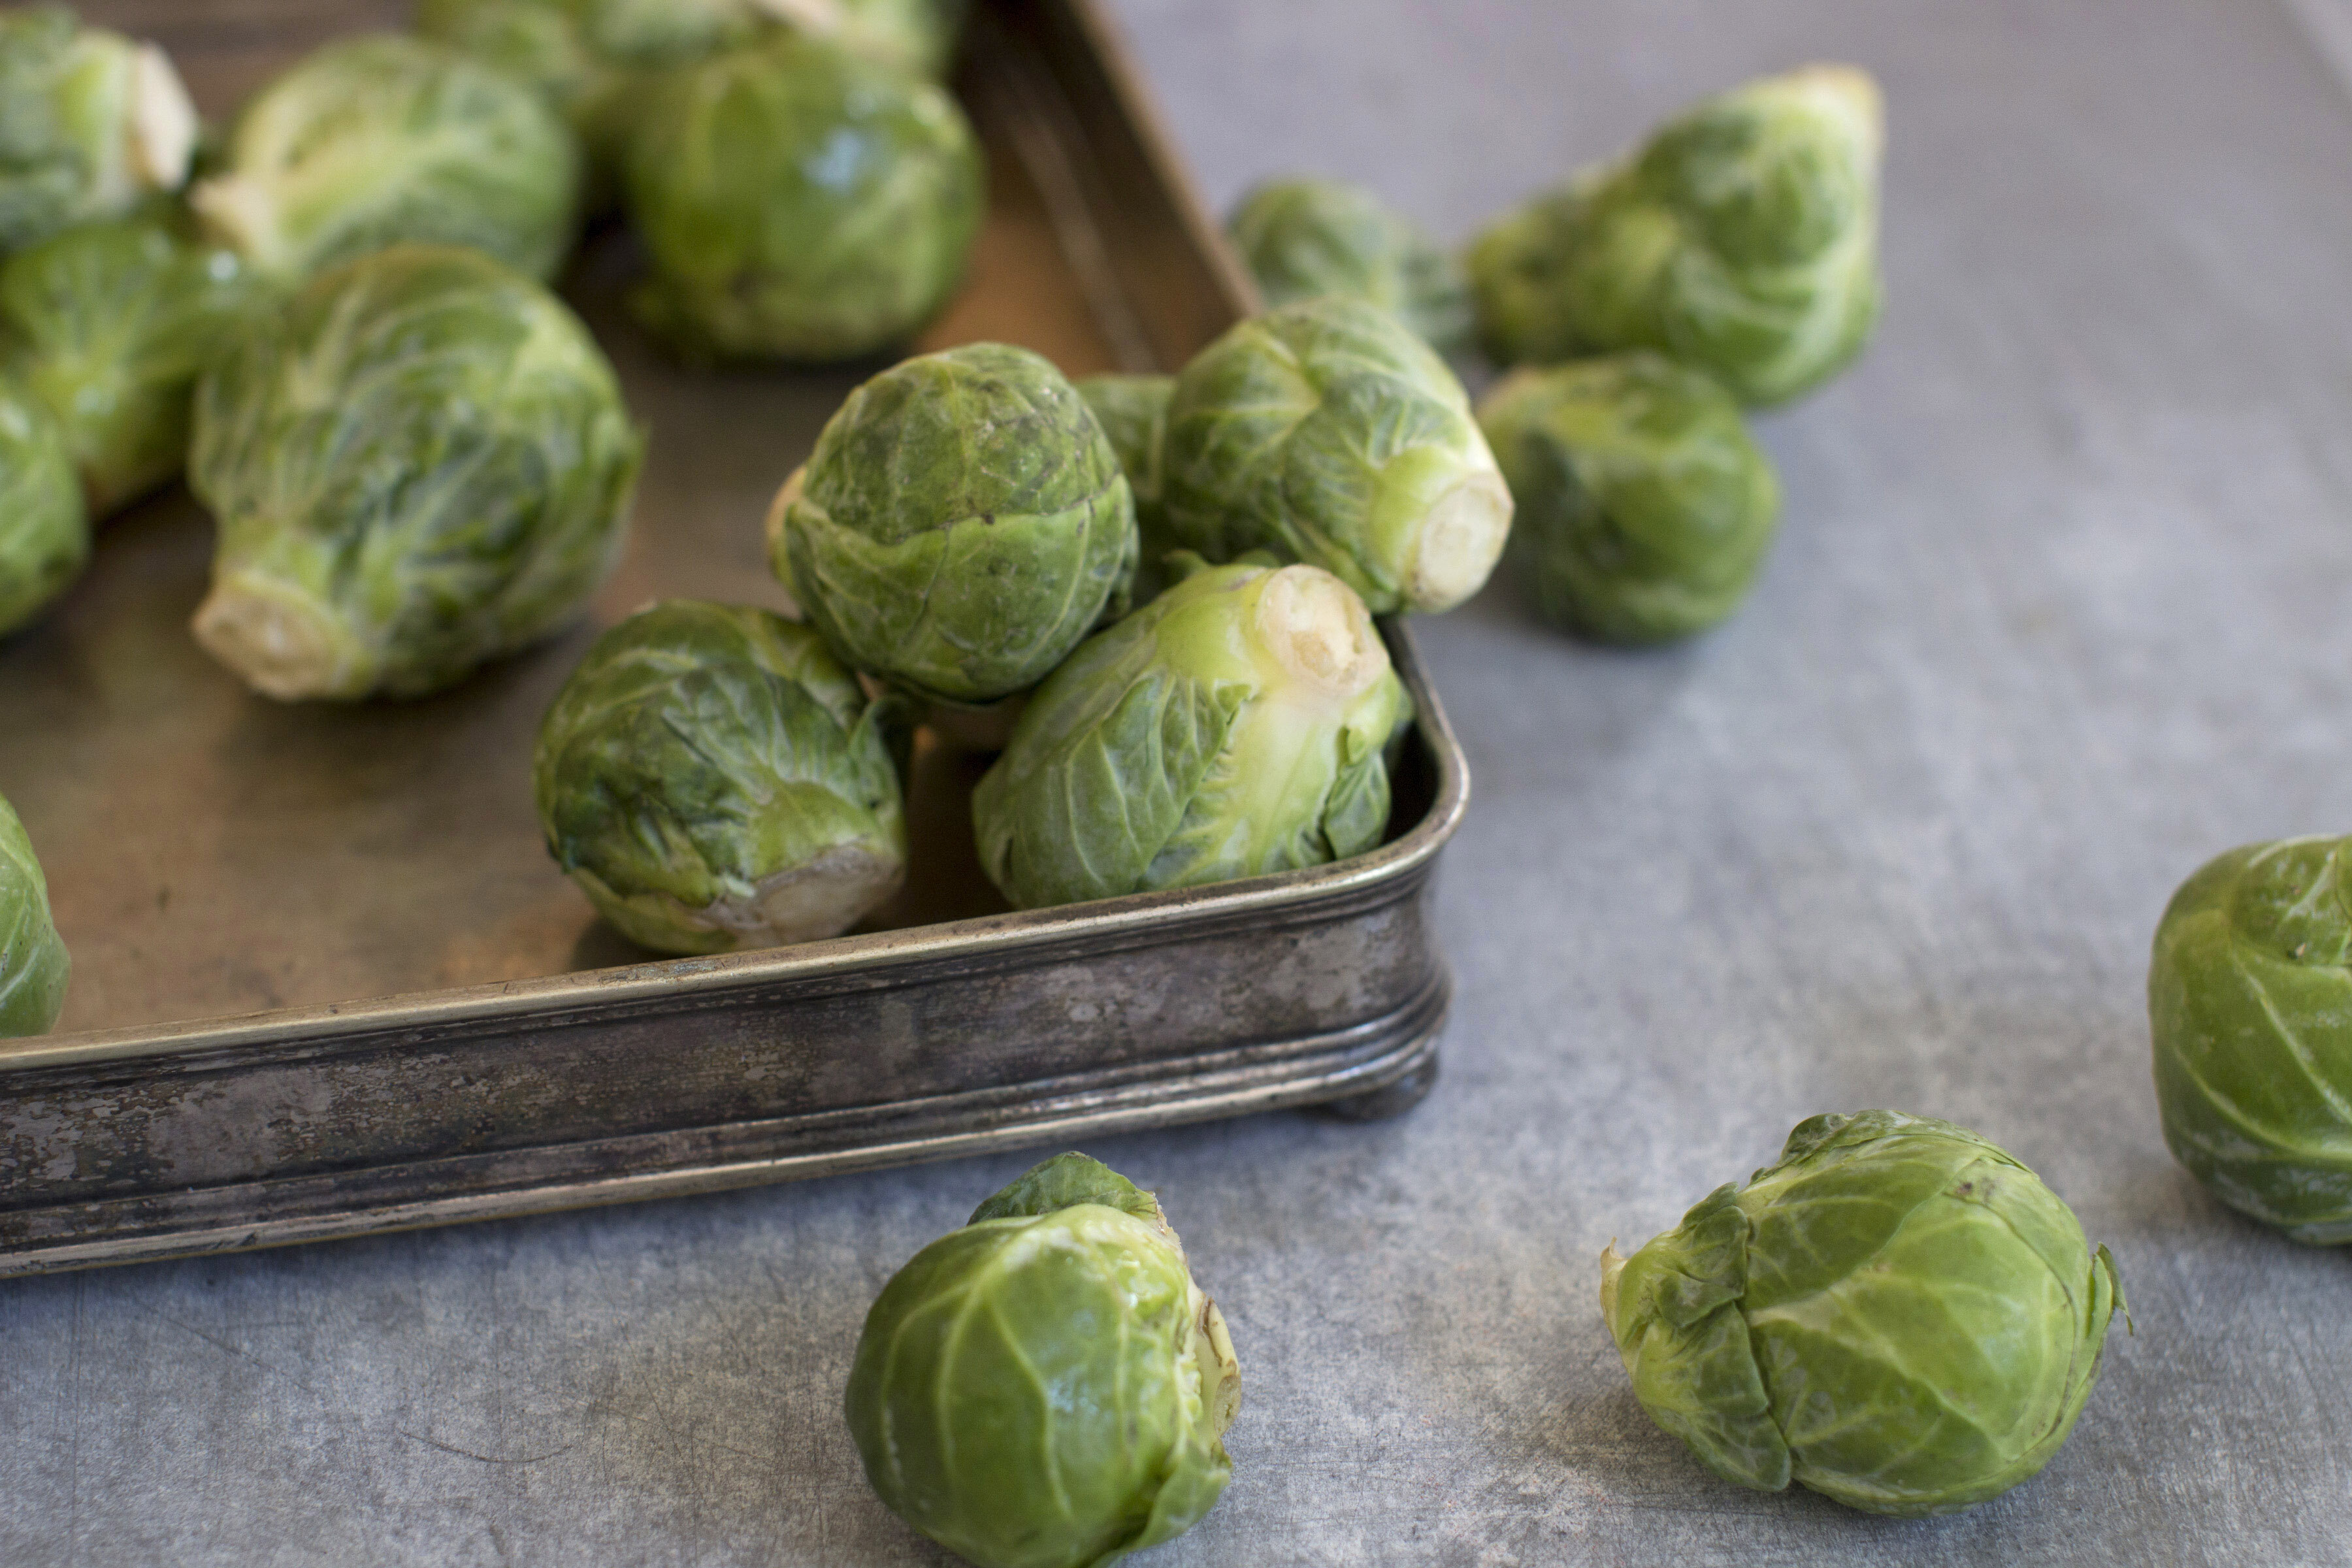
Then, drizzle some olive oil on the paper before cracking six eggs into the basket. Claire chucked in her veggies at this point ― I used sliced Brussels sprouts, some fairly small roast potato cubes, old broccoli, and peas. Use whatever you have leftover.

Then, add whatever seasoning you like ― Emma Claire went with paprika on top of regular salt and pepper. I like chilli flakes in mine too, but that’s the beauty of the recipe ― you can personalise it to your exact taste and supplies.

Then, add a thin layer of grated cheese to the top and cook for 15 minutes at 180°C.

“I sliced it in half to make two servings ― perfect for a quick and easy lunch or dinner,” Claire shared. I also found it’s perfect for two!

Share Button

Leaving Christmas Leftovers Out For More Than This Many Hours Can Make Them Unsafe

’Tis the season for festive feasting ― and, if you’re not careful, food poisoning.

NHS Shetland says that “Campylobacter is one of the most common bacteria causing food poisoning, and it is closely associated with raw poultry such as chicken or turkey.”

But cooking your food correctly is only one part of the equation ― it also matters how, and when, you store leftovers, public health body Safefood says.

They add that “If you store your Christmas dinner leftovers carefully in the fridge you can hold on to the glow of Christmas Day and use them up over the next three days.”

How soon should I put leftovers in the fridge?

According to Safefood, they should be covered and stored away within two hours.

“Don’t eat food that has been standing at room temperature for more than 2 hours,” the health pros advised.

If your turkey still feels hot long after you’ve cooked it, you can slice it into smaller pieces before placing them in airtight containers to prevent cross-contamination.

Safefood stresses that “Leftovers stored in the fridge should be eaten within three days. ”

NHS Shetland Health Protection Nurse Chloe Umphray gives an even shorter reheat window: “Storing food incorrectly and for longer than recommended can increase the risk of bacterial growth, which can lead to food poisoning,” she warned.

“Key safety tips include: store it in the fridge, eat it within two days and only reheat it once.”

How do I safely reheat leftovers?

As Chloe says, you can only reheat leftovers once.

However you cook them, Safefood says they “should be reheated until they are piping hot all the way through. And leftover gravy should be brought to a rolling boil.”

Even if you’re eating the leftover meat cold, Food Standards Scotland adds that you should only take as much turkey as you’ll actually need out of the fridge.

They advise against leaving plates of cold cuts out, and suggest we punt the meat back in the fridge within an hour of taking it out if needed.

Share Button

Mary Berry’s Unexpected Secret Ingredient For Delicious Turkey Skin

With Christmas day being only days away, it’s almost time to start prepping the turkey. It’s not often the most pleasant of activities, what with the uh, giblets removal and all but with the right preparation comes the most succulent of Christmas meats.

This year, we’re looking to none other than the queen of the kitchen herself, Mary Berry, for our turkey recipe. After all, who better to help us cook up a storm and impress our family with our kitchen tricks?

Of course, by this point we all have our own traditions for cooking the Christmas turkey but this year, we’ll be adding a little of Mary Berry’s finishing touches to the skin with orange slices.

The perfect finishing touch to roast turkey

So, in Mary Berry’s turkey crown recipe as featured on Mary Berry’s Absolute Christmas Favourites, she has two oranges ― one cut into slices and one cut in half and these add finishing touches to the cooking of the turkey.

So, once you’ve done your own preparations, loosen the skin on the turkey using your fingers or a spatula, gently so as not to tear anything. Then, mix two teaspoons of thyme leaves with 50g of softened butter and smear the mixture underneath the skin of the bird.

Then, arrange orange slices in two neat rows, under the skin and on top of the herb butter.

As for those orange halves? Place one under the skin at the neck end of the bird and any orange trimmings in the cavity.

This mix of citrus and herbs gives a perfectly Christmas flavour to the tastebuds and with not-too-much effort.

Plus, if you have any leftovers, these can be frozen for up to a month. Just make sure you wrap them up well!

Share Button

Mary Berry’s Unexpected Secret Ingredient For Crispy Roast Potatoes And Parsnips

It takes a lot for me to change my tried-and-tested roast parsnip recipe, but if there’s anyone who can convince me to alter my beloved roaster routine, it’s Mary Berry.

Writing for Love to Cook, the author and cooking guru shared that “Crunchy sweet parsnips are the perfect side dish. The addition of semolina gives them a lovely crispy outside.”

The trick works for spuds, too, she says ― “With the addition of semolina, these golden parsnips become extra crisp in the oven. Throw some in with your roast potatoes for something a bit different this Sunday.”

So, we thought we’d share why it works, as well as some other root veg-roasting tips:

Semolina has a moisture content of around 14%, which is why you need to hydrate it with milk or another liquid to access its fluffy deliciousness.

Meanwhile, spuds sit between 75% and 85% moisture. Parsnips are 80% water. That means that both veg tend to steam a little as they bake, providing the softer, fluffier texture we love on the inside of our roasters.

So, when you coat either option in small, dry semolina, the cereal stays dry and crispy when you bake them while the insides of the veg grow fluffy.

And because the grain is so fine and small, it clings easily to the outside of your roasted roots.

Yep! Mary Berry recommends cutting your parsnips into eighths rather than quarters for that extra-crisp finish, as you’ll have a larger surface area (and corners) for the oil to cover.

For both parsnips and potatoes, the semolina trick takes a similar pattern. Par-boil the veg (par-boiling should take four minutes for parsnips and up to ten minutes for spuds).

Cool them a little before placing some oil in a baking tray to get hot when you’re ready to prep the veggies for roasting.

Then, coat the parboiled veg salt, pepper, and a little oil before adding semolina and your herbs of choice. Cook until golden and deliciously, perfectly crisp.

Share Button

Mary Berry’s 15-Minute Secret To The Juiciest, Crispiest Turkey

It’s not just down to your cooking skills; turkey really is a naturally drier bird as its both large and relatively lean, which makes even cooking difficult.

The usual solutions to this problem ― spatchcocking the bird or cooking only its fattier parts, like legs ― are sensible, but feel patently un-festive.

After all, what’s more Christmassy than lifting a plump golden turkey crown from the oven, stuffed with citrus and slathered in butter?

So it’s a good thing former Great British Bake-Off judge Mary Berry has a 15-minute trick that allows you to keep your turkey crown intact while adding some much-needed moisture and flavour.

What’s the trick?

Mary Berry uses a multi-pronged approach; not only does she stick to a crown rather than a whole bird so it cooks more evenly, but she also stuffs the bird with citrus fruits, places butter under the skin, and bastes the meat every so often.

She recommends placing tinfoil on the top of the crown if you notice it browning too quickly, too. This traps the moisture in and prevents a dry top layer.

But the real secret to tasty, juicy, perfectly crisp success happens 15 minutes before she removes the poultry from the oven.

She suggests we “squeeze the juice from the remaining half-orange over the turkey” a quarter of an hour before its cook time ends.

Then we should “Return the turkey to the oven, uncovered, to allow the skin to crisp up.”

That’ll provide an extra last-minute boost of flavourful moisture, and the sugar in orange juice will caramelise into a thin, crisp layer that adds an extra crunch to the bird’s delicate skin.

Any other tips?

Yes ― you absolutely have to rest your turkey, even if it’s just a crown or legs, for a minimum of 30 minutes.

Mary Berry covers her turkey crown in tinfoil while it rests, trapping even more steam and moisture.

That helps the turkey to re-absorb its juices, ensuring it’s mouthwateringly juicy.

Gordon Ramsay also adds butter on top of his turkey breast before drizzling it with olive oil ― the more fat, the juicier the bird will be.

And for what it’s worth, I’m with Nigella Lawson on the meat’s prep ― “For me the only turkey is a brined one,” she shared on her site.

“Not only does it tenderize and add subtle spiciness, but it makes carving the turkey incredibly much easier.

Share Button

I’m A Chef — This Simple Recipe Will Level Up Your Carrots On Christmas Day

We all know that we’re going to spend Christmas day fighting over roast potatoes with our families and that the meat of choice comes after deep consideration but according to one chef, we’re actually missing a trick when it comes to our carrots.

Yes, that’s right, our collective disregard of the humble carrot has led us astray and we’ve been taking their essential spot on our dinner plates for granted, especially around this time of year.

Outrageous, really, since carrots are the ideal snack for reindeers.

Michael Lawson, head chef at Atlantic Brasserie said: “Carrots are great produce to cook with; they’re available year round and are super versatile.

“For Christmas dinner there are countless ways to elevate this humble veggie into the star of the show.”

How to elevate your Christmas carrots

Lawson promises that this recipe can “transform carrots into a stunning holiday centrepiece, that’s as delicious as it is eye-catching.”

All you need is honey, butter, pistachios, orange zest and, if you’re feeling extra fancy — chives.

Lawson says: “I start with glazing carrots with honey and butter, which gives them a rich and sticky finish.

“My secret ingredient is pistachios – they might not be the first garnish you think of when you’re cooking carrots, but they give the dish a nice crunch and a contrasting savoury flavour which is just mouthwatering. You can also add in some chives for colour and a more complex flavour”

Once you’ve done this, roast your carrots in olive oil for 45 minutes until fully cooked. Then, Lawson advises: “Make a glaze with the zest of an orange and around 20 ml of honey, cover the carrots in this and roast for a further ten minutes.

“Sprinkle the pistachios and chopped chives before serving. It’s a super easy way to level up what can be a basic side – and it’s perfect for Christmas dinner.”

I think it’s fair to say I’ll be tucking into this treat throughout the year, too.

Share Button

If You Want Crispy Roast Potatoes, Avoid This Common Mistake

People, I have been humbled by roast potato facts recently.

I thought my recipe was foolproof until I realised that not only should I be adding Mary Berry-approved semolina to the veggies for an extra crunch, but I should also retire my extra-virgin olive oil additions.

And now, it seems I’ve been making another mistake on my way to crispy, fluffy perfection ― turns out it’s important to cool your parboiled potatoes before cooking them.

Why?

According to Marc Williams, cookery school director at The Grand in York, it’s all to do with moisture.

We’ve written before about how applying low-moisture semolina to the outside of potatoes can ensure they crisp up as they cook rather than steaming their skins to softness.

Well, the same philosophy applies here. When you parboil your roast potatoes, you infuse them with water (no shockers there). And the steam puffs out from the exterior of your potatoes for a while after removing them from the water.

This can interfere with the potatoes’ interaction with the hot oil you should be adding them to after roughing up their sides and adding seasoning. And if they’re seriously steamy, or even wet, you can get some dangerous splashback.

You should “strain them and wait until the steam stops,” William shared. “You’ll never get a crisp result if they are full of water.”

In fact, Joe White, head chef at 10 Tib Lane in Manchester, even goes so far as to say “For the perfect roasties make sure to steam or boil them the day before and let them air dry overnight in the fridge. It will make the outside extra crispy when you roast them.”


What’s the right method, then?

According to Williams, “To get the perfect potatoes, peel them, add to cold water and bring to boil. Boil for around six minutes until the edges soften.”

Shake them in the colander while hot to provide rough, textured edges, and apply semolina and seasonings while the spuds are still hot. Freshly-boiled potatoes will provide fluffier outer layers, and ingredients stick better to hot food.

Then, strain them and cool them. When you’re ready to cook them, place a fat of your choice ― duck fat if you want to be luxurious, though sunflower and vegetable oils are great options ― in a baking tray to get hot before adding the spuds.

“Roast for around twenty minutes in a hot oven before turning them over; this allows a crust to form underneath, so you won’t leave half the potato stuck to the tray,” Williams recommends.

Bon appetit!

Share Button

I’m A Chef — The Secret To The Best Brussels Sprouts Isn’t Bacon

Home cooks, check off these “secret ingredients” as they apply: do you put chocolate in your chilli? Sugar in your tomato sauce? Do you reckon everyone else would just loveee Brussels sprouts if only they oven-roasted them with some bacon or pancetta?

There’s nothing wrong with those tried-and-true pearls of kitchen wisdom; they do work.

But according to Dean Parker, chef patron of Glasgow restaurant Celentano’s, there’s another way to transform the humble sprout.

When asked what his secret to brilliant Brussels is, he didn’t mention any pork products at all.

So what’s the secret?

“Hazelnuts and miso butter are my secret ingredient for my Brussel sprouts,” he shared.

Hazelnuts add the crunch of chestnuts that chefs like Mary Berry swear by (though she sometimes plumps for cashews), while miso butter creates both the umami tang you’d expect from meat and the decedent creaminess only butter can deliver.

You can pan-fry drained, boiled sprouts in the mix, like Mary Berry does with her cashew and pea version.

Alternatively, you can slice your sprouts pretty thinly for a bit more bite.

Miso butter is incredibly easy to make too: simply mix the ingredients together with a fork.

Any other tips?

If you’re making a festive feast, Tommy Heaney, founder of Heaneys, Cardiff, swears by time and effort-saving a trick I’ve used and love myself.

He recommends par-boiling your potatoes ahead of time, chuffing them in a colander, and then leaving them in the fridge overnight before cooking them the next day.

If you really want to be hands-off on Christmas, he advises, “Put them in the freezer until Christmas Eve and defrost overnight.”

“On Christmas Day, begin by frying them with plenty of oil or fat until coloured all over, add garlic and rosemary and then finish in the oven on a high heat.”

I’m sold…

Share Button

Here’s How To Make Your Own Tomato Purée At Home, And It’s Surprisingly Easy

If you’ve read my thoughts on brownies, carrot cake, or fudge, you’ll know I can be pretty particular about my food.

The same goes for cupboard staples too ― some, like butter, aren’t worth making yourself, I reckon, but others pay back your effort in spades.

I’m a big fan of DIY tomato purée because it allows you to control the taste and thickness, and also gives you a genuinely useful way to use up all those uneaten tomatoes.

So I thought I’d share how I do mine.

How do you make tomato purée?

The only ingredient you’ll need is tomatoes.

Because the recipe contains no other ingredient, there are no ratios to toggle with, so it doesn’t matter how many you have ― whatever you’ve got will do, though it’s a bit of a process so I like to do big batches at once.

If you want to peel the tomatoes, you might want to boil and then blanch them in ice water to make the skin easier to remove, but I don’t bother.

Chop your tomatoes up (smaller chunks will cook faster, but it’ll get blended, so don’t stress out about finely dicing them) and put them in a saucepan over medium heat.

Though some recipes will ask you to boil tomatoes in some water, I’ve never seen the point. Like stewing apples, I find the fruits provide enough liquid to simmer themselves.

Once you’ve got a rapid boil, turn your heat down and let the tomatoes simmer for at least ten minutes. The longer you leave it on the hob, the thicker your tomato purée will be.

Then, let the tomatoes cool for at least five minutes and run them through a blender before straining the whizzed-up thickened tomatoes through muslin or even a sieve.

That’s your purée ― if you reckon it’s a little bit too thin, you can put it back on the hob to reduce more.

Any tomatoes work, but locally-grown ones will taste better.

How long does it keep?

Culinary site The Spruce Eats says you can leave homemade tomato purée in an airtight container in the fridge for up to a week. I find the flavour’s only good for up to about five days.

But you can freeze it in ice cube trays or airtight bags for up to six months ― again, The Spruce Eats says the taste degrades a bit after month three.

Though it is possible to can it at home, I’d recommend advising against it if you’re not canning with an expert or aren’t experienced with the process yourself. Unsafe canning can cause potentially deadly botulism.

Share Button

This Viral Reddit Apple Pie Recipe Is The Best I’ve Seen

Reddit’s a goldmine for recipes, not least because you don’t have to go through a long pre-recipe story about the writer’s childhood collecting apples from their family tree.

More importantly, though, you get to see which recipes normal people can actually make and enjoy ― like the previously viral Reddit cream cheese pound cake, posted straight from a site user’s nan’s notebook to r/OldRecipes.

This week’s bake de jour is an American-style apple pie shared to r/Baking, however.

Redditor Good-Ad-5320 shared that they’d made a “massive apple pie,” adding that the US-style dessert is “bliss.”

Looking at their creation, which is truly the Platonic ideal of an apple pie, it’s impossible not to understand why commenters were baying for the recipe.

What’s the recipe?

The site user swears by a

for their crust, though OP (the original poster) says they upped the butter content to 416g and added a bit more sugar.

They used a 24cm-wide, 6cm-high pastry ring.

“After lining the ring with the crust, I froze it completely before blind baking,” they explained.

After the blind bake, they sprinkled the inside of their pastry shell with egg whites and a “1:1 ratio flour/sugar,” which they called “crust dust.”

As for the apple insides, they took it a step further than I usually do by forming a sort of caramel in a separate pan to the chopped and peeled apples.

“I sprinkled the peeled and sliced apples with lemon juice and white sugar to get some water out of it (I let them aside for 1 hour),” OP wrote.

“After I put the apples in a colander to remove the excess water, I precooked the apples and put them again in the colander to remove even more water.”

They doubled up their regular recipe and used:

  • Apples: 16
  • White sugar (for the apples): 100g
  • White sugar: 100g
  • Packed brown sugar: 200g
  • Water: 120g
  • Vanilla beans, scraped: 4
  • Flour: 46g
  • Salted butter: 230g

However, this was for their frankly colossal pie. “For a regular tart, I think 7-8 apples are sufficient,” OP added. You can halve the rest of their recipe too.

To create the apple filling, they suggest we “combine [all sauce ingredients] in a saucepan, heat until [the sugar melts], [and] make it boil a bit until it thickens before mixing it with the precooked apples.”

They then baked the pie until golden brown.

“To get clean cuts, I let the tart cool down for approx 6 hours outside (it was around 10°C),” they ended their post.

People were pretty huge fans

“I’ve never considered a deep-dish apple pie! How cool is that,” a top comment underneath the post reads.

Another commenter suggested the poster might have gone bankrupt buying all those apples, to which they responded: “Actually half of the apples were from my brother’s garden, and the other half cost me around €2 (they were ‘Golden’ apples).”

Yet another Redditor said: “That’s an apple casserole bro.”

Yep, basically ― and I couldn’t be more sold.

Share Button