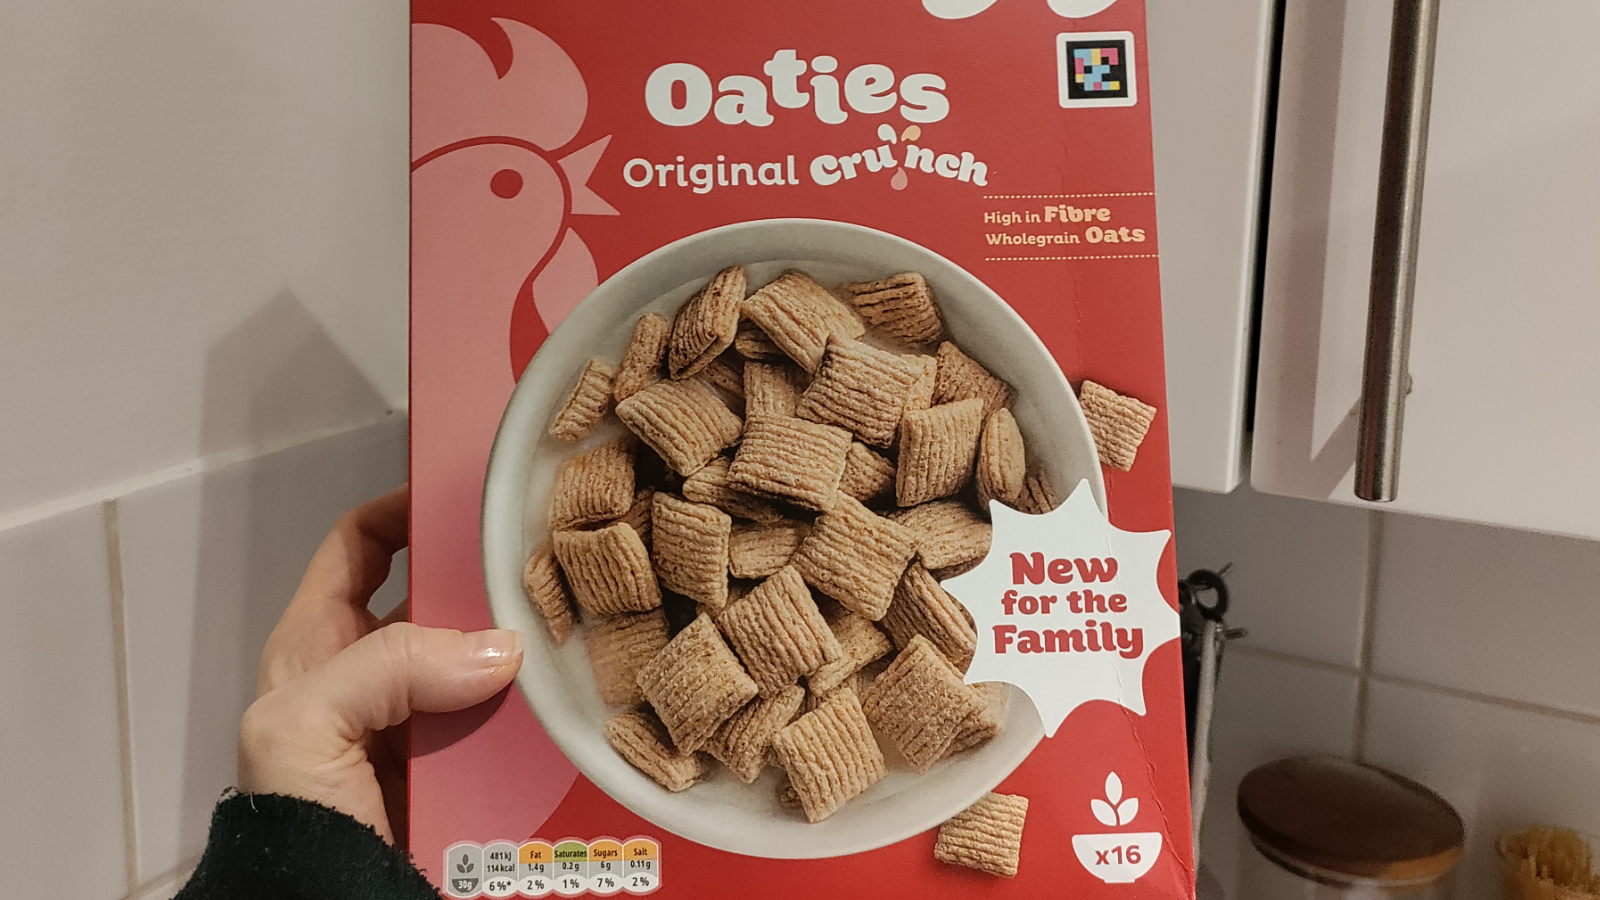
Recently, Kellogg’s released an all-new brand of cereal ― Oaties, available in plain and chocolate flavours ― which carried a Willy Wonka-unmeltable-ice-cream-level claim.
“Each bowl,” the company asserted, “is filled with crispy, crunchy
pillows of wholegrain oats that have been lovingly crafted to stay crunchy in milk.”
Advertisement
Apparently, food scientists spent months achieving the miraculous bite. The product’s tagline ― “it’s crunch time!” ― doubles down on the sog-free promise.
This, I told myself, was a case for the emptiest journalistic minds of our generation (mine). So, I thought I’d get my hands on a box, cover its contents in milk, and try it at five, 10, 15, 20, and 30-minute intervals.
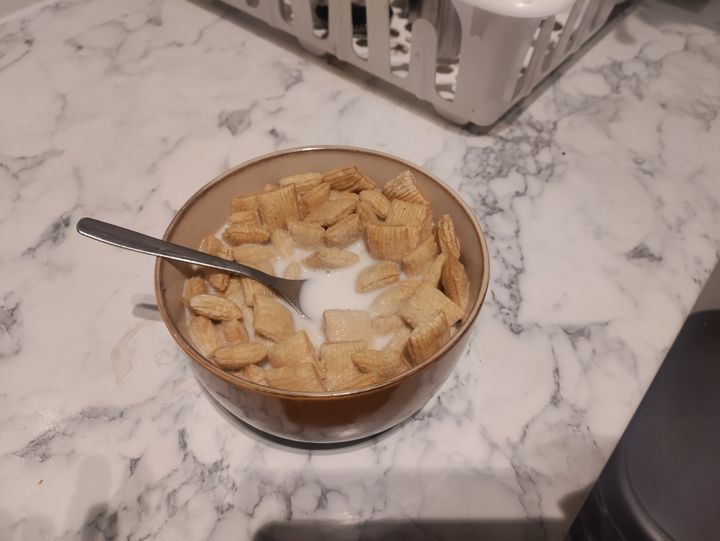
And, because I take my duty seriously, let me start off with proof I really, really dunked those bad boys:
Advertisement
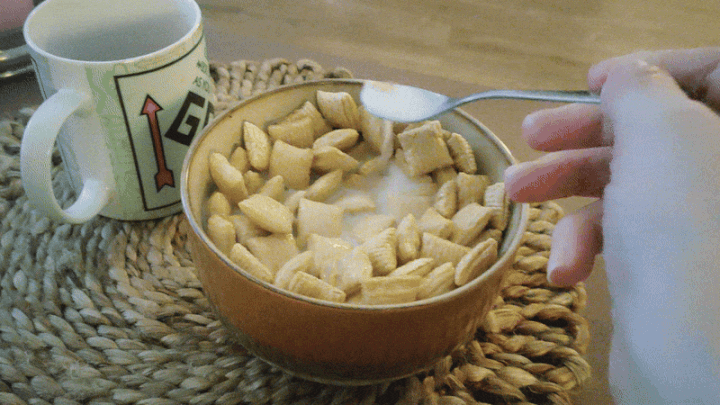
Amy Glover / HuffPost UK
You’re welcome.
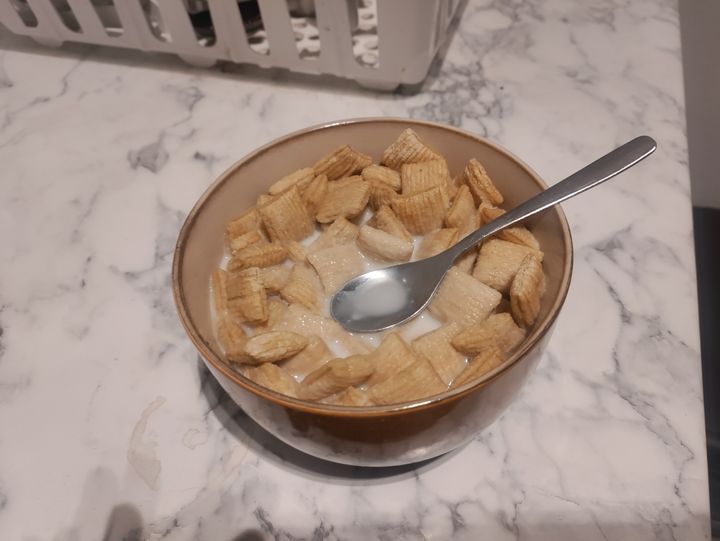
1) After five minutes
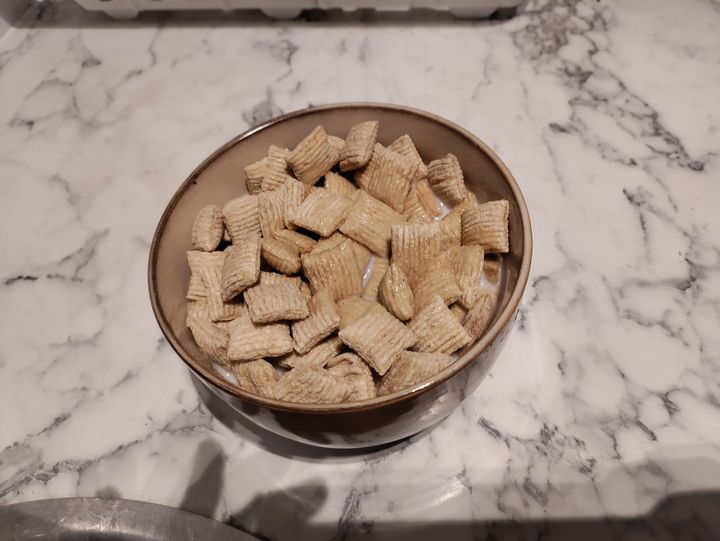
Amy Glover / HuffPost UK
I left the bowl of submerged cereal on the side for five minutes.
I’ll be honest ― approaching the abandoned bowl made me arrogant. “Aha!” I thought. “Those are definitely some softer outsides.”
Advertisement
That was true ― the first half-millimetre of the cereal had expanded and softened after a five-minute lactose jacuzzi.
But that was all. A bite revealed that the real crunchiness of this cereal lies in its centre ― there was almost no give in the rest of the pillows.
I was confused but intrigued.
2) After 10 minutes
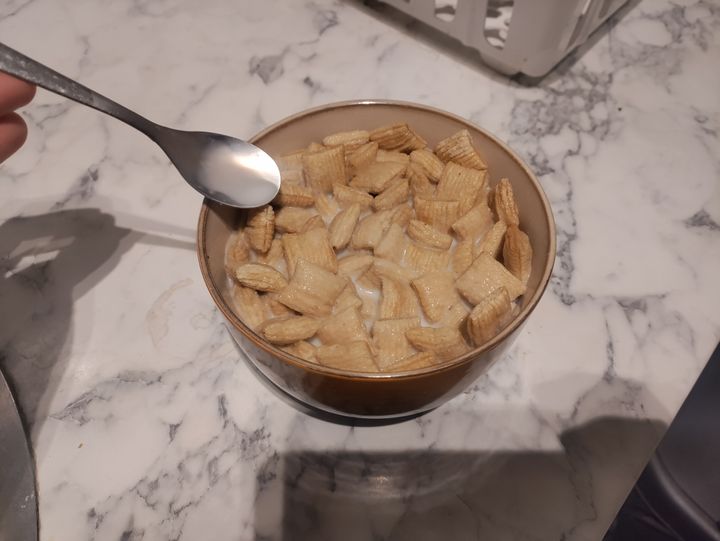
Amy Glover / HuffPost UK
Advertisement
I was pretty surprised to note that the topmost cereals, despite my previous dunking, had remained mostly dry at this stage.
Not much to report at the ten-minute mark; a note I took in my phone read: “exactly the same as five minutes.”
Anticlimactic, but consistent.
3) After 20 minutes
Amy Glover / HuffPost UK
Advertisement
At this point, I did start to notice (and taste) a difference in texture.
About a fifth of the outside layer of the cereal was soft now, and they looked fuzzier and lumpier in the milk.
But lo and behold ― the middle part was still strong and crunchy (more on that later).
I started to wonder how these shells became so impermeable. An incredulous peek at the ingredients list returned nothing suspicious ― just oat, corn, and wheat flour with sugars and fortifiers.
4) After 30 minutes
Amy Glover / HuffPost UK
Advertisement
The most-dunked pillows in the bowl had definitely become softer on their outsides, even including their corners (which had more or less all stayed stiff ’til now).
But if you look at the bowl, you’ll see the outermost layer still remained unsoaked. And even a bite of the “soggiest” centre pices revealed a bone-dry, still-crunchy inside.
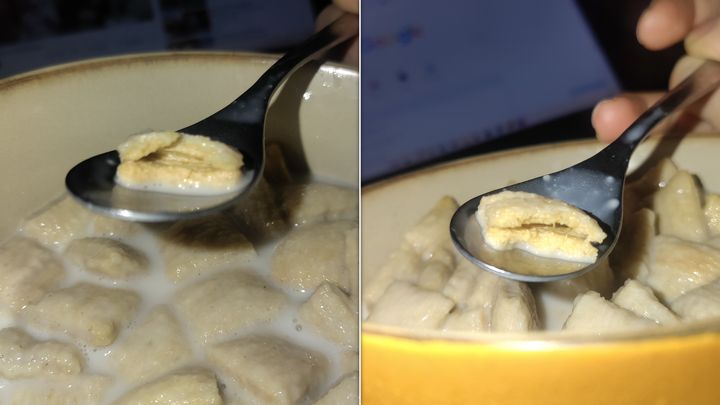
Amy Glover / HuffPost UK
Advertisement
I do not know how it’s done (though I’m on the case).
Nor do I (plot twist) particularly like crunchy cereals ― I love soggy ones.
But if you’re in the firm camp, we were pretty surprised by how well these (literally and figuratively) held up.