UK Gardeners Advised To Do These 6 Tasks In March

When I texted my partner, “You won’t believe what I’ve just seen!” this morning, I think he figured I’d witnessed a crime.

Nope ― it’s just that my 7:45 return from the gym was bathed in real, blue-skied sunlight. That felt unthinkable even two weeks ago.

This sign of life sounds the first death knell for February, to which I say, good riddance. Spring is on its way; intrepid blossoms take their first floral gasps of above-0° air, and the garden begins to return to its verdant glory.

Of course, all this comes with a downside (or upside, depending on your perspective). Don your dormant gloves, gardeners ― we’re back to work!

Here are the tasks experts advise finishing in March:

1) Plant and sow

Now’s the time to plant everything from summer-flowering bulbs to new roses to shrubs, climbers, and wildflower seeds.

You can also sow onions and shallots, alongside other hardy veg like cabbage, lettuce, early potatoes, broad beans, radish, and cauliflower.

2) Prune roses

For the most bountiful display in spring and summer, it’s important to prune roses and climbers early on in the month ― dogwoods and willows will benefit from a harsher cut-back now too.

3) Weed, even if the weeds don’t look all that damaging

We’ve written before about how tackling perennial weeds before summer hits is key, even if they don’t look like they’re doing much harm.

They’ve growing thick, hard-to-remove roots at the moment; lift them and their roots from the ground as soon as you can to save yourself a horticultural headache later.

4) Get ahead of slug infestations

Slugs and snails seem to wake up the second your prized veggies do (funny, that).

Try biological controls or alternatives to keep their numbers in check ahead of spring.

5) Check for aphids too

Tender new stems don’t stand much of a chance against swarms of spring aphids. Manually remove them before the problem goes out of control.

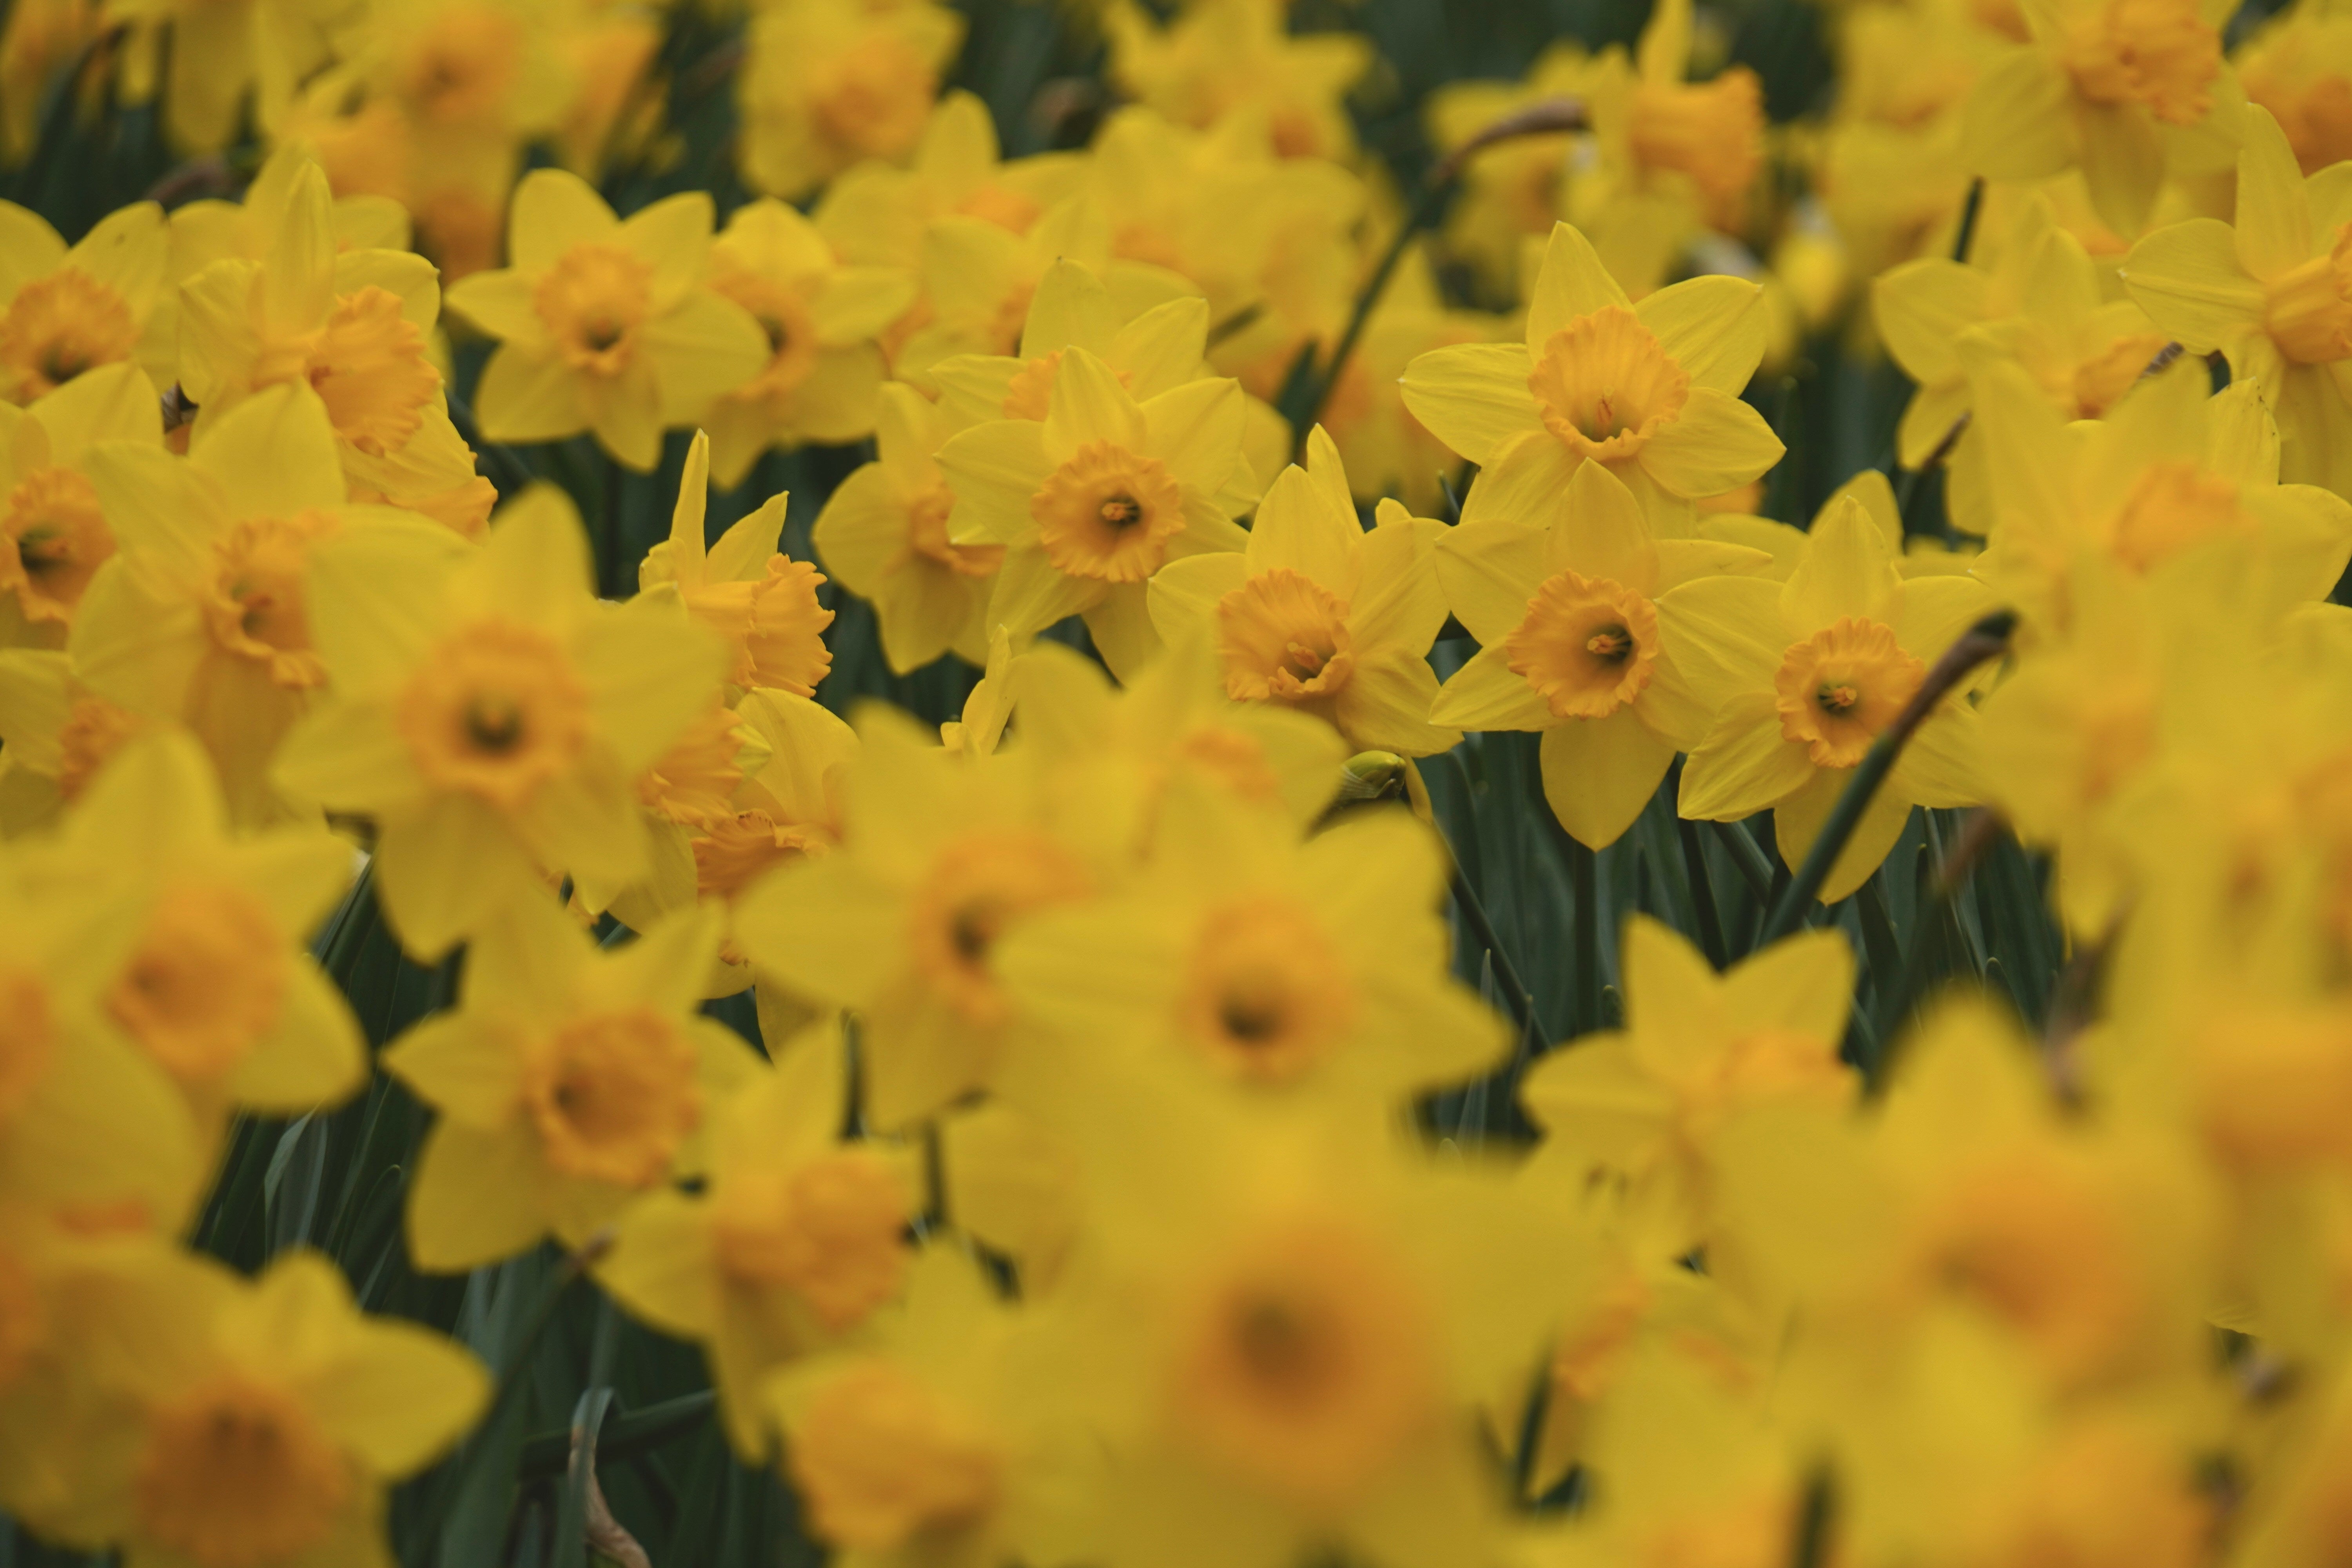
6) Deadhead spring flowers

We were all excited when the first daffodils puffed their yellow chests up, but it’s important to deadhead those who have since wilted.

That’ll ensure an equally resplendent show next year, especially if you feed the bulbs with tomato feed.

Share Button

Ready To Get Back To Gardening? Here Are 3 Bulbs You Can Plant In February

If you have spent your winter days cosy indoors, not thinking about your beloved garden, now is the time to get back out there. While the temperatures are still low, the days are gradually getting brighter for longer and before we know it, spring will be with us.

What better way to prepare for the gorgeous days ahead than to plant some blooms to bring our gardens back to life?

Just think, we are mere weeks away from sitting outside with drinks, snacks and the sounds of nature surroudning us. Bliss.

The bulbs you should plant in February

Lilies

White lilies in full bloom.

Often showstoppers in domestic gardens, lilies are surprisingly easy to grow and you can actually get started with them this month. Faith in Nature recommends: “Pop them 15-20cm into the ground now and enjoy their dramatic, highly-scented flowers come summer.

“They prefer to be in a sunny area of the garden, and like their soil well-drained. If the ground in your garden is water-logged, they can be grown in pots – which is also good news if you’re a patio gardener.”

Plus, butterflies and bees love them.

Chrysanthemum plants

Red chrysanthemums.
Red chrysanthemums.

These bold, bright plants effortlessly add texture and colour to gardens and this month, you can get started with planting them for stunning summer blooms.

Gardener’s World recommends: “Pot on rooted cuttings and small plants bought from garden centres into individual 10cm pots and pot on again when their roots have filled their growing space.

“Plant out after all risk of frost has passed, into moist but well-drained soil in a sheltered, sunny spot. Dig plenty of organic matter into the planting hole or apply a general purpose fertiliser. Provide support straight away.”

Galtonias (summer hyacinths)

Galtonia in bloom.
Galtonia in bloom.

Galtonia, also known as summer hyacinths, are a stunning way to punctuate any colourful garden. These flower later in the summer season, bringing some much-needed life to gardens that are starting to wind down ahead of cooler months.

The Royal Horticultural Society (RHS) recommends planting bulbs 10-15cm deep (at 30-60cm intervals) in late winter or early spring.

Ah, it’s so good to be back, isn’t it?

Share Button

This Common Mistake May Be Ruining Your Poinsettia Before Christmas

Poinsettias weren’t always a common Christmas flower in the UK ― but flower company Bloom & Wild say they became that way thanks to their festive colour and star-like shape.

So if you’ve got one in your home, chances are you’re trying your hardest to keep it fresh throughout the festive season.

Thankfully, David Denyer, an expert florist at Eflorist, told HuffPost UK that there are some surefire ways to accidentally kill your festive plant before it’d otherwise fade ― including some “people often overlook.”

What could cause an early plant death?

“Pests are a big issue that people often overlook. Aphids, whiteflies, and mealybugs are drawn to the fragile leaves of poinsettias,” David told us.

“If the leaves appear curled or feel sticky, it’s often a clear indication of a pest problem,” he added.

You can protect other surrounding plants by removing the affected plant from their area and treating it with insecticide or neem oil.

“Another comment problem is people often believe that yellowing leaves are solely due to overwatering, but in many cases, it could also indicate low light or a lack of nutrients,” David continues.

Poinsettias do need a bit of extra care in terms of nutrients, especially after they’ve been moved from one place to another or after Christmas. A slow-release fertiliser can make a difference in terms of overall health.”

How should I take care of poinsettia?

Even if you’re not worried about murdering your flower entirely, David has some tips for keeping it at its best.

Most of us over-water our poinsettia, he points out: “You have to focus on not letting the plant sit in water,” he stresses.

It’s an easy trap to fall into because people often water their poinsettias frequently, but they don’t check if the soil has good drainage. The plant’s survival is more about the quality of the watering routine than the quantity.”

Misting the leaves with water is a much better option than drenching the leaves ― you shouldn’t leave droplets on the bracts or they’ll “develop unsightly spots,” David warns.

You might want to move your plant from that spot by your window too, the flower expert says.

“Poinsettias are incredibly sensitive to changes, particularly temperature fluctuations. Avoid placing them near places where drafts or sudden warm air from vents can affect them,” he told HuffPost UK.

“The changes in temperature can be subtle but enough to cause them to shed their leaves.”

And “While they enjoy bright, indirect light, some people make the mistake of giving them too much direct sunlight, which causes the leaves to burn.”

Looks like I have a plant pot to move…

Share Button

UK Gardeners Warned About This Watering Mistake Which Could Ruin Plants

If you’re a keen gardener, you may be looking forward to the coming months as you fill your garden with plants, flowers, and even vegetables – but did you know that you may have actually been watering your plants wrong?

Yep, it turns out that there is a right way to water plants and it definitely isn’t just pouring water from a watering can over them the way that some of us are used to doing.

So, what is the right way to water plants?

According to the Royal Horticultural Society (RHS), there is an art to watering plants, especially if you hope to avoid wasting water and give your plants the best possible chance at flourishing.

According to the RHS, the best time to water is in the mornings as this is when the sun rises and plants will start to use water. They added: “The foliage and soil surface is also likely to stay drier for longer than evening watering, discouraging slugs, snails and mildew diseases.”

Each individual plant has its own watering schedule so it is worth researching the plants growing in your garden to figure out a schedule for keeping them hydrated and thriving.

When you are watering plants, especially if you’re using a watering can, it’s essential to water them at the roots. This is because wet or humid foliage encourages fungal problems and evaporation from surfaces.

The RHS added: “Watering more thoroughly, but less frequently helps get the water down to the deeper root tips.

“It is better to water the garden before drought really sets in, to keep the soil moisture levels even and avoid the soil being continuously dry.”

However, the society warned that soil doesn’t have to be really wet all the time because plants need air as well as water to grow.

What is the best water to use on outdoor plants?

According to the RHS, rainwater is actually best as it’s freely available if you are able to store it. Additionally, tap water requires treatment and often contains more minerals than many plants need.

Who knew?!

Share Button

3 Simple Steps To Save A Waterlogged Lawn, According To An Expert

Ah, soggy ol’ Britain. An island where your outfit on any given day should account for all possible weathers because truly, who knows what the day holds? This is especially true during spring when we don’t seem to have any consistency for three solid months.

Following a few weeks of hopeful sunshine, a lot of the country now has, predictably, downpour. Which is set to last for at least the rest of the week with flood warnings even being issued for parts of England, according to the Met Office. Yay.

Another issue that comes with this weather is that our gardens can get flooded (also known as waterlogged), which is dreadful news for those of us that were excited to finally get back into gardening after a long winter.

However, there are some things we can do to help our lawns recover.

How to fix a waterlogged lawn

Rhiannon Moore, a garden expert at Toolstation, shared her tips for tackling a flooded garden:

Remove any built-up debris

Moore advises that once the water has receded, you should immediately remove any leftover debris such as sticks and leaves to clear the surface of the lawn. She added that you shouldn’t use a metal rake for this as it’ll damage the already weakened soil surface.

Aerate the soil

Using a garden fork or aeration tool, spike holes into the soil surface that are no more than six inches deep.

Fertilise the soil

Using a feed that’s rich in phosphorus, fertilise your lawn. This will help to promote root growth as well as replace the lost nutrients in the soil.

Moore added: “It’s also important to remember not to mow a lawn after a period of extensive rain and make sure to avoid watering until the ground has dried out.”

Early signs of waterlogging

If you’re not familiar with waterlogging or are new to the world of gardening, you may not be aware of the signs of a flooded lawn. Moore shared the most important signs to look for:

  • Bare patches – As the grassroots start to die, it will result in bare patches of lawn. These first strike in the worst affected area

  • Moss patches – Whilst a small amount of moss is beneficial to a lawn, large amounts of it can cause the grass to die as the moss steals the ground nutrients

  • Excess weeds – Rogue weeds are a common sight in lawns however, they can quickly take over a weakened lawn and starve the remaining grass of nutrients

Long-lasting solutions for a waterlogged lawn

  • Level out the ground – If the flooding is only happening in isolated areas, you can add some topsoil and new turf to level out the uneven lawn

  • Add garden walkways – Each time you walk over your lawn, you compact it beneath your feet. Adding a simple paved garden walkway will help to protect your lawn from damage

  • Consider a French Drain – If flooding is a regular issue, you may want to consider installing a French drain. This is a gravel-filled ditch with a perforated underground pipe to drain away the water. It’s best to check with your local planning authority before starting any digging

Let’s hope for sunnier days soon!

Share Button

How To Keep Rats Out Of The Garden Without Killing Them This Spring

No offence to the little critters but for many gardeners, rats are really quite unwelcome visitors. Setting up little homes beneath decking, in sheds, greenhouses or even compost heaps means that they infiltrate the nooks and crannies of our gardens.

As they’re nocturnal, and quite skittish anyway, you’re unlikely to see a rat in the garden but signs such as rat tunnels, runs, droppings and even teeth marks can sprinkle throughout your treasured green space, letting you know that rats are living there.

The problem is, for many outdoorsy folk, killing them or poisoning them isn’t an option. I mean, of course. They’re just existing. But then, how do you get rid of them without harming them?

Thankfully, the experts at Gardeners’ World have some ideas to keep the rats at bay.

How to get rid of rats in my garden humanely

Instead of opting for rat traps, put the bird feeders away

If you have bird feeders hanging for local birds, you may be inadvertently attracting rats. This is because bird food being as small and light as it is, often falls to the ground and this attracts rats. For a while, stop filling bird feeders and if you have chickens, secure the run to deter rats.

One of the best rat repellents is simply… keeping your garden tidy

Messy gardens filled with clutter and overgrown areas are more likely to appeal to rats because of how much cover they provide. Give your garden a good tidy, especially near fences, and keep it today to deter rats.

Protect your compost heap and keep it moist

Avoid adding food scraps to your compost heap for a while and, if you can, keep it moist by including lots of greenery and mud. Gardeners’ World added: “Fixing chicken wire around the base of the bin can also help, as it prevents rats from being able to dig beneath the bin to climb inside.”

Block access to sheds and greenhouses

Rats can make their way into many small cracks, so make sure that your buildings are secured and block any gaps.

Move things around the garden to put them off coming back

Rats hate change and specifically change to their own territory. Move furniture, potted plants and anything else around your garden to encourage rats to find somewhere else to call home.

Finally, if you have any water sources such as a dripping tap that can be shut off, turn them off for a short while if you’ve exhausted all other options.

Share Button

This Kitchen Cupboard Essential Is About To Make Shovelling Snow So Much Easier

You don’t need to open an app or switch on your TV to know that it’s, to use a technical term, bloody freezing right now.

And it’s probably not escaped your attention that the ice and frost that can build up on your car, roads, and gardens can sometimes be seriously disruptive.

In fact, sporting events have already been cancelled under the current snowy conditions ― drivers have been warned of roads becoming ’ice rinks.’

So, shovelling snow might become a part of your morning routine over the next couple of days. But it turns out that there’s a simple, cheap trick to keep your shovel blade smooth ― simply spray some cooking oil onto the base.

Why?

In short, it’s a simple case of lubrication.

Oil freezes at a much lower temperature than water, so it won’t seize up in cold weather ― unlike water-based alternatives.

So, using cooking spray, vegetable oil, or wax on your spade before you start shovelling snow can help it to slide through the snow and ice faster than it would otherwise, without running the risk of getting stuck.

“If the snow begins to stick to the shovel, it is time to reapply the spray or oil. It is best to apply it before every use,” AccuWeather adds.

Any other tips?

Yes! Wearing thick socks over your shows can provide extra grip, meaning you’re less likely to slip and slide on ice and snow.

And while we’re speaking about footwear, stuffing your shoes with newspaper after heavy snow exposure can help them to dry out faster and maintain their shape.

We’ve written before about how rubbing a cut potato over your windshield the night freezing temps take hold can lead to condensation-free glass in the morning (yes, really).

Most of all though, stay as warm and as safe as possible during the cold blast (ah, UK weather…).

Share Button

UK Gardeners Urged To Dig Hole Under Fence For 1 Reason

Can we call it “winter” now? I mean, I know it’s just turned November ― but the sun’s down before 5pm, my extra-thick coat has come out of its vacuum-packed home, and my garden’s autumn bounty has officially faded away.

We’re not the only species to feel the shift, either. Birds, bats, hedgehogs, and bees are starting to struggle in the less-plentiful season ― but it turns out that digging a teeny-tiny hole in your garden could help.

“Combined, our gardens provide a space for wildlife larger than all our National Nature Reserves, so by gardening in a wildlife-friendly way, we can help our spiky companions move around safely and find a home,” The National Wildlife Trusts shared.

But unless the critters have a way into your garden, all of that land is practically useless to animals.

Why does digging a hole help?

“Hedgehogs must feed intensively and be in great condition before hibernating if they are to have enough reserves to last the winter,” Wild About Gardens says.

In fact, the average hedgehog roams 2km a night. To get into prime resting state, they need access to food ― and somewhere to hibernate in the first place.

We’ve written before about how helpful it can be to pile your dead leaves into a leaf bay or heap rather than removing them entirely (this helps to provide insects and shelter for hedgehogs and other beasts).

We’ve also shared how meat-based cat and dog foods can nourish hedgehogs when left out in your garden ― but without a hedgehog hole to access these, your efforts might be futile.

How can I create a hedgehog highway?

Cutting a small hole in your fence panel with a coping saw, and digging under your pence, removing bricks from walls all work, the RSPCA says. “Hedgehogs can travel through gaps as small as 13x13cm, so these gaps don’t need to be large,” they add.

Of course, you’ll want to get your neighbour’s permission before creating the hole ― especially if you want to create a multi-garden hedgehog highway all down your street with the help of your neighbours.

“Keep an eye out for neighbours doing work on their gardens, or using fencing contractors ― this is the perfect opportunity to get a hedgehog hole put in,” The Wildlife Trust suggests.

The Wildlife Trust’s Hedgehog Street programme encourages people to link their gardens to create a hazard-free, insect-rich pathway. You can go to their go to the national network at Hedgehog Street to record your own hedgehog hole.

Right, I’m off to dig a hole…

Share Button

UK Gardeners Urged To Do These Jobs In October Before Cold Weather Hits

October is an interesting month for gardeners. The bounties of autumn are starting to fade away into the barer beauty of winter; bats, birds, and bugs are starting to struggle to find food.

It’s a good time to prepare your garden for a period of low, or no, growth, fallen leaves, and hard, cold soil. So, we thought we’d share the jobs you should get going on ASAP this month (before cold weather hits):

1) Plant some veg

Lucy Rhead, gardening enthusiast at Gtech, shared that it’s a great time to plant onions and shallots, which require little space; spinach (regular harvesting will keep your spinach cropping into spring); lettuce, which you can pretty much grow throughout the whole year, and asparagus, as planting your crowns in warm autumn soil can give them a head start blossoming over winter.

2) Get growing with some flowers, too

It’s a good idea to get some spring bulbs, like crocuses, fritillaries, and daffodils, in the ground now before the soil becomes too hard to dig.

3) Move delicate plants to a greenhouse or conservatory

The Royal Horticultural Society (RHS) advises moving tender, young, or cold-sensitive plants to a sheltered area in anticipation of harsher climes. This is called overwintering; prime candidates include perennials, palms, tree ferns, and more.

4) Get trimming

Though you should leave some plants like ivy untrimmed, others (like roses) require a good pruning. Herbaceous perennials can benefit from a little haircut around this time of year; check to see which of your plants is due a trim.

5) Divide your perennials

It’s one of your last chances to divide perennials to keep them healthy and ready to flourish again next year. The RHS recommends lifting the plants out gently with a garden fork, making sure you don’t damage the roots.

Once removed from the soil, shake the dirt off to reveal the roots and replant your perennials either in the same spot or a different one in your garden or in a pot. Water them well. You should also divide rhubarb crowns at this time of year.

6) Get cracking on some leaf compost

Whether you intend to rake a pile of leaves into a quiet part of your garden or plan to bag and compost ’em, it’s the perfect time to start thinking about how you can use the fallen leaves for gardening good. Just make sure not to include any infected leaves in mulches or composts.

7) Collect seeds for next year

Grab the last of the seeds from your plants, bag them, and label them in preparation for planting in spring. Some seeds, like those from astrantia, achillea, and red valerian, can be sown straight away.

8) Remove your plant pot saucers now and replace them with raisers

It’s important to keep your flowers hydrated in the dry, hot summer ― but now that the weather’s set to take a rainier turn, you’re at risk of waterlogging your plants if you don’t air them out.

The work of a gardener is never done, is it?

Share Button

The 1 Task UK Gardeners Should Avoid Doing In Autumn

Autumn is a bountiful time in your garden. From the abundance of blackberries we saw earlier in the year to the current glut of rosehips, it’s a good season for the green-fingered.

Of course, the end of those autumnal perks signal the start of stark winter’s downsides. Bats and birds begin to struggle to find food. Rough, colder weather makes new growth unlikely.

Thankfully, there’s one simple (in)action you can take to help prevent some of these issues: keeping fallen leaves in your lawn, rather than throwing them out, is actually a pretty great move in autumn.

Eric Michels, Head of Pro at CJ Wildlife, says “One of the best things you can do with fallen leaves is to leave them for wildlife!”

“While some may consider fallen leaves a nuisance, they provide the perfect opportunity to give back to nature and create a habitat or food source for a wide variety of animals this autumn.”

So, here’s how to tackle your leaves without banishing them from your garden altogether:

Forget intense raking ― this is push-and-pile up season

A large, unraked pile-up of leaves on your lawn can cause problems, like mould. But simply shoving them into a heap in the corner of your lawn (rather than carefully clearing and disposing of them) can provide a home for wildlife, Michels says.

“Hibernating mammals, such as hedgehogs, frogs[,] or toads, will use leaf piles to create a nest where they will stay throughout winter, while insects and invertebrates will love the dark, damp nooks and crannies that it has to offer,” he says.

“In turn, this will encourage birds such as robins and sparrows to visit your garden to forage for worms and bugs in the leaf layer.”

The Royal Society for the Protection of Birds (RSPB) agrees, saying that “You might not be a fan of creepy crawlies in your composting materials, but they serve an important function by providing food for larger birds and other wildlife.“

Where you place your leaf pile matters

Of course, you won’t want to stick the leaves in a busy or very exposed area ― they’re more likely to get kicked apart or blown away, and it’ll probably be a less welcoming area for wildlife too.

You should “make sure it is located in a quiet corner of the garden where visitors can stay undisturbed throughout winter,” Michels says.

The RSPB adds that “where you put the logs and leaves will affect the wildlife that uses it. Try different spots in your garden, with different sized and shaped piles.”

Got a felled log? Even better!

“If you have any logs or fallen branches, place these next to [the] leaf pile to provide additional shelter and security,” says Michels. The two make a very appealing pair for visiting wildlife.

“Gathered together, this mix can create a lovely pile of goodness to help your garden grow and encourage more birds, bees and other wildlife to visit,” the RSPB shared.

So, if you’ve got some old branches or logs (perhaps from deadheading, pruning, or simply cutting down trees), the more the merrier.

Leaf mulch makes amazing compost, too

Not sure about piling up leaves in your lawn? You can place it in a beg for mulching instead (or on top of) the heaps.

In fact, the RHS refers to bags of leaf mould as “black gold”.

The steps are simple ― collect fallen leaves, stick ’em in a jute leaf sack, a bin bag, or an old compost bag, and simply wait for about two years for the coveted leaf mould.

And if you’re worried about any bad smells, fear not ― “The mention of ‘rot’ may conjure thoughts of smelliness, but decomposing logs, sticks and leaves don’t have much of an aroma at all – just a faint scent of woodlands,” says the RSPB.

You can make leaf mulch even sooner than that ― just “remember to check leaf piles for any animals before moving or mulching,” Michel says.

Look, anything that means I don’t have to meticulously rake and throw out my leaves is good news to me…

Share Button