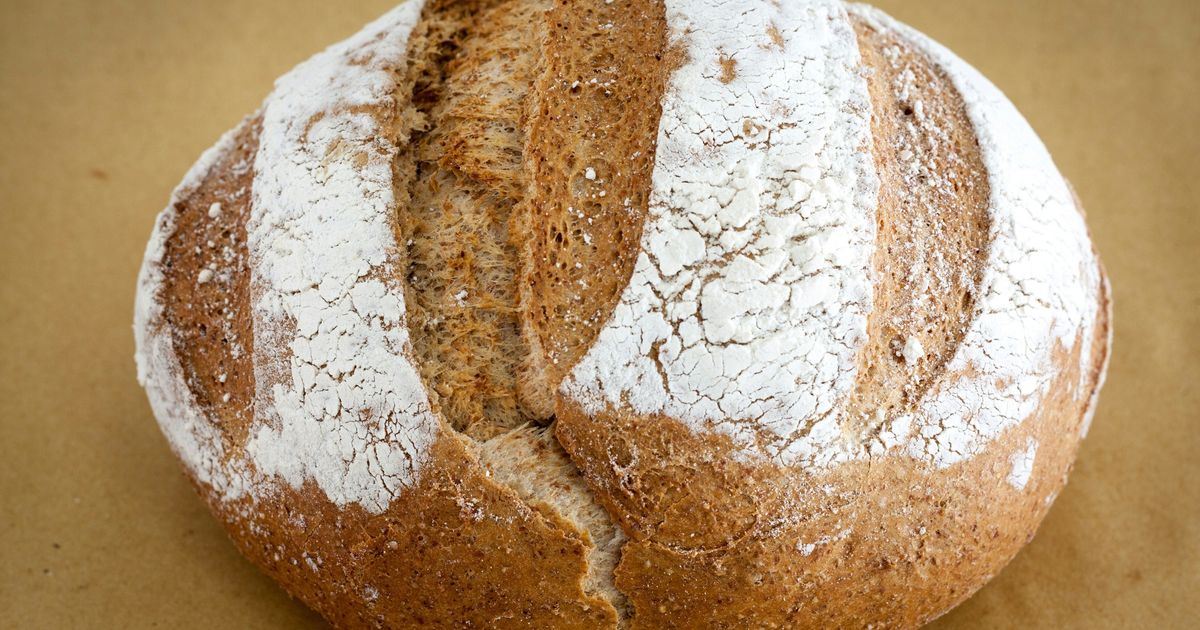
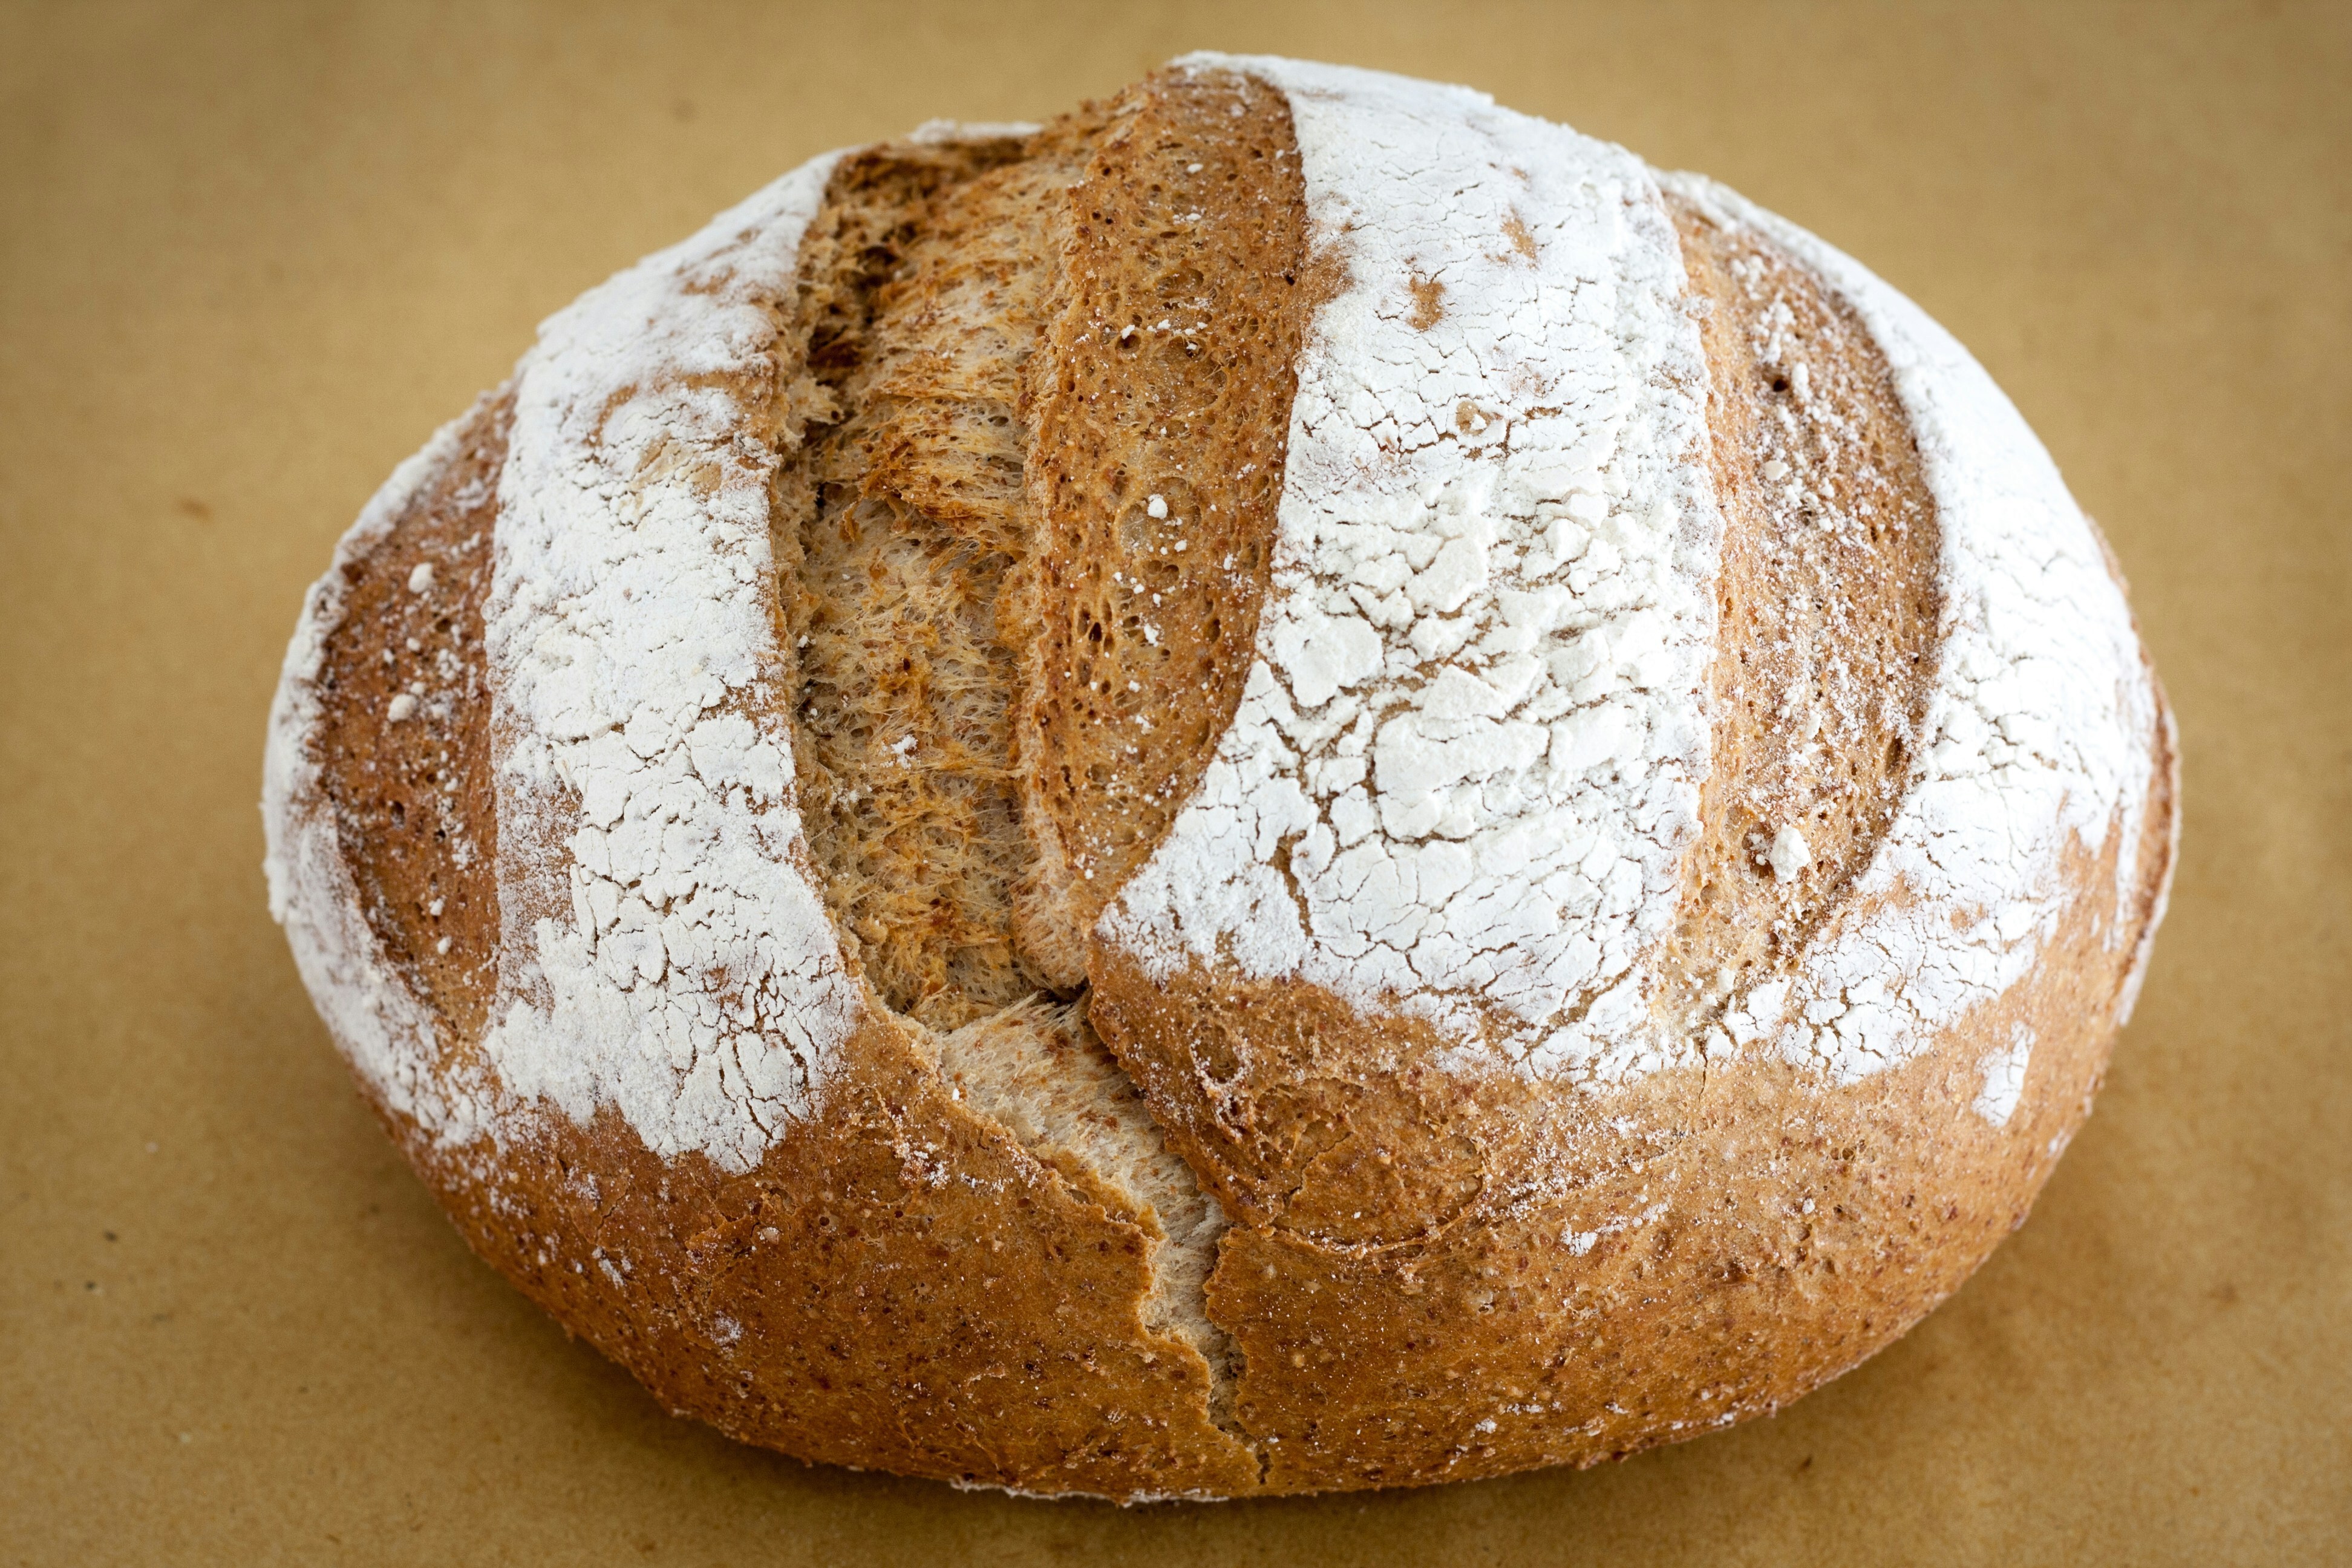
If you’ve ever gone through a breadmaking phase, you’ve likely dabbled in creating your own sourdough using either a starter of your own or one given to you.
However, if you weren’t familiar, BBC Good Food has a pretty explanation of what it is: “Sourdough is naturally leavened bread, which means it doesn’t use commercial yeast to rise. Instead, it uses a ‘starter’ – a fermented flour and water mixture that contains wild yeast and good bacteria – to rise.
Advertisement
“This also produces the tangy flavour and slightly chewy texture you’ll find in sourdough.”
It’s also delicious. Perfect for sandwiches, toasting, dipping in soup, on the side of salads… you name it, sourdough is the perfect accompaniment.
However, the hidden benefit of sourdough isn’t its taste or how easy it is to create. It turns out that sourdough is actually very good for your health, too.
The health benefits of sourdough
According to Web MD, sourdough is rich in nutrients that make the bread overall good for our bodies, disease prevention and lowering blood sugar.
However, it’s our gut health that sees the most benefits, especially in comparison with other breads.
Advertisement
The health experts said: “Sourdough bread may be easier to digest than white bread for some people.
“According to some studies, sourdough bread acts as a prebiotic, which means that the fibre in the bread helps feed the “good” bacteria in your intestines. These bacteria are important for maintaining a stable, healthy digestive system.”
How to make a sourdough starter
If you want to try your hand at making sourdough, you’ll first need to make a starter.
For a starter, according to Jamie Oliver, you’ll need 100g strong white bread flour, 100g dark rye flour, 200ml of water and a container that can be sealed — around 1L is ideal.
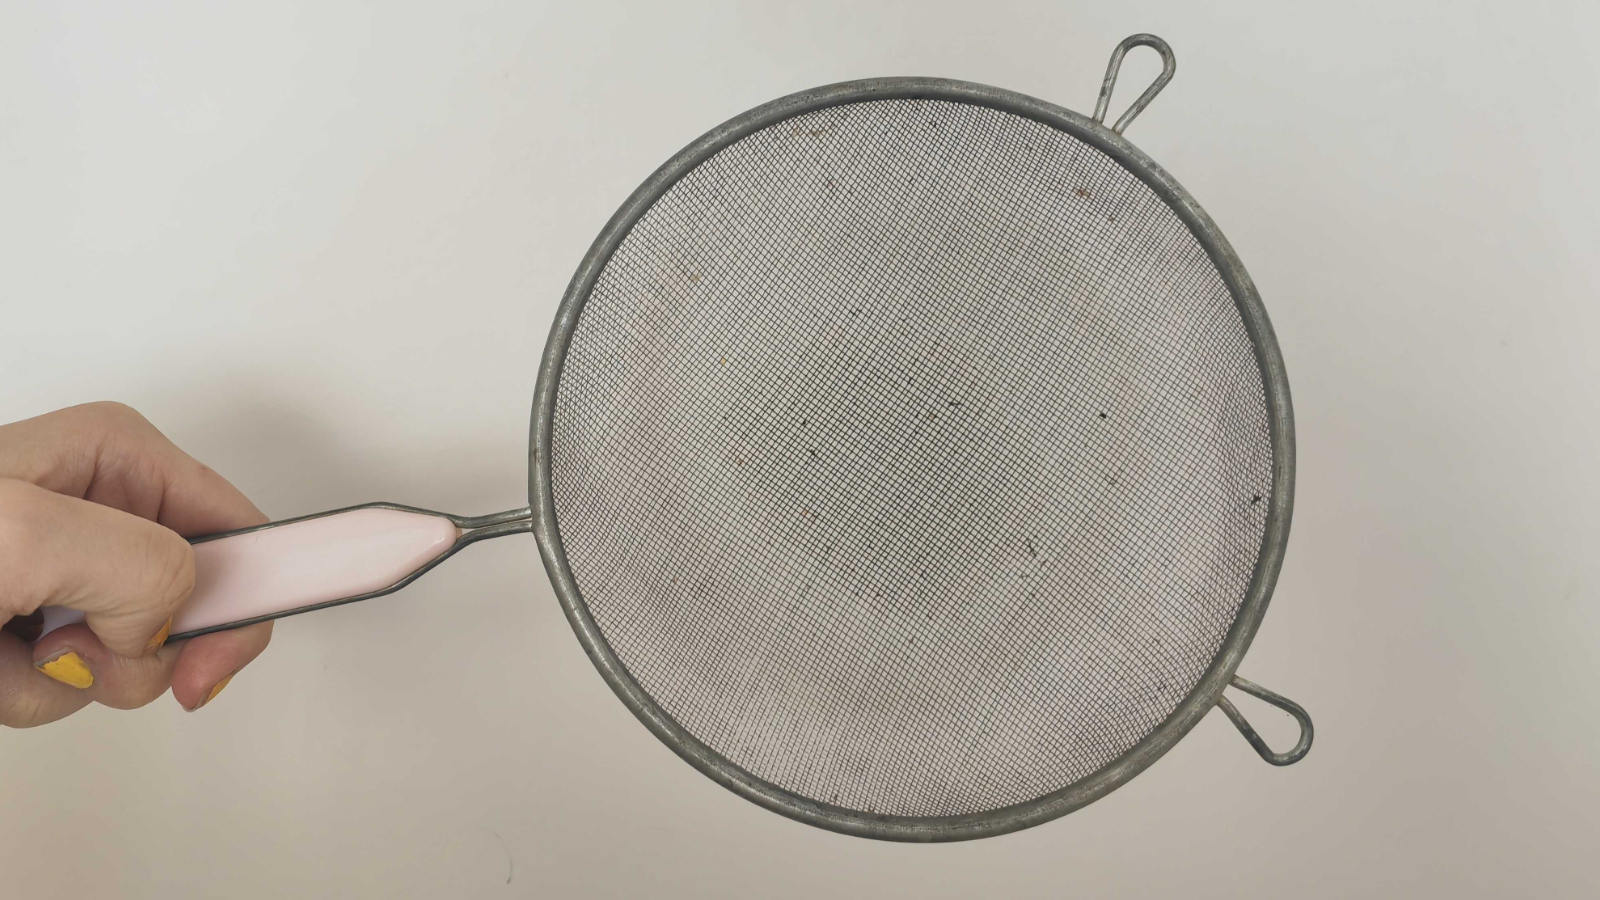
Ah, sieves ― they’d be such a handy tool if they weren’t nigh-on impossible to clean.
As someone who tends to be much kinder to “current me” than I am for “future me,” – I still end up using mine about once a day.
It’s perfect for draining pasta (except for the washing). It’s a great way to ensure no lemon seeds end up in the juice (except for the washing). It’s useful for sifting flour, too, except… well, you get the message.
Advertisement
So you can only imagine how relieved I was to find that taking one simple step immediately after using the tool can prevent an awful lot of stuck-on food.
Which is?
Food magazine Bon Appétit wrote that whacking the utensil against your sink as soon after using it as possible is really, really helpful.
“As soon as you finish using your sieve, bang it against the sink,” they shared.
“This helps dislodge some of those smaller pieces that haven’t had time to mush up and settle in.”
They add that you should also soak your sieve in very hot, soapy water for 15 minutes “right away.”
A dash of distilled white vinegar added to the mix can make cleaning it even more effective, the publication says.
However, for both methods, speed is key.
Is that the only hack?
Far from it. In a Reddit thread about the cooking conundrum, site users were full of recommendations.
Advertisement
“I turn it upside down in the sink, and use the sprayer to blast the back side. This usually cleans it pretty well,” one Redditor wrote.
Many advised against letting your sieve rest after use, even for a minute ― more people than I’d expected knew about the “banging it against the sink” trick too (am I the only one this is news to?).
Yet another person suggested using a toothbrush if the debris gets really dire (Bon Appétit reccomends this too).
With all the resentment I’ve built up to that accursed mesh, hitting it against the sink should be easy…
If you’ve ever tried to fry an egg in a nonstick pan, you’ll know how tricky the supposedly easy protein can be to cook.
It’s not just ensuring the whites don’t rip off in a jagged, uneven strip, or preventing the yolk from splitting; there’s also the struggle of getting that lacy, crunchy base and runny yolk without keeping any slimy, uncooked whites.
Advertisement
There’s lots of advice for those looking. For instance, “hot pan, cold oil” has proven a consistent way for me to achieve unstuck eggs every time; I’ve found that using room-temperature eggs is also a helpful tidbit.
But there’s only one egg trick I use every time I fry one; you should be using water as well as oil in the process.
Why should I use water as well as oil when frying an egg?
Once you’ve got the bottom of your egg cooked, water is essential to steam its top. This keeps the egg runny and the whites firm.
As Food & Wine’s culinary director, Justin Chapple, explained, “You start by adding a small amount of oil to the skillet and cracking in the eggs, just like you normally would.”
Advertisement
“Then, about 30 seconds in, you add hot water to the pan, basting the eggs until the whites are set and the yolks are still runny. It creates tender, soft fried eggs with no overdone edges in sight.”
Not only does this prevent rubbery or runny eggs, but it also cooks them more evenly than just oil ― so you won’t have to flip them (just be careful to keep everything on a medium heat to prevent evaporation).
In case you thought we were alone, none other than Best Recipes Australia swears by the hack for “that perfect, gooey yolk” (I’m drooling).
Of course, basting the egg with hot oil can have a similar result ― but even when chefs like Gordon Ramsay use fats only, they ensure it’s not just oil.
Gordon revealed in a video on the topic that he only uses a “tiny drop” of oil followed by a heartier “knob” of butter, which has a lower smoke point and can be used to banish that “raw egg white” that “can be uncomfortable.”
Advertisement
Any other fried egg hacks?
If you’re really willing to go out of the box, food blogger and cookbook author Lisa Steelewrote for her account Fresh Eggs Daily that you can fry your eggs in cream.
When you think about it, it’s kind of the same philosophy as using butter (which none other than Gordon Ramsay swears by for the job).
She places a thin layer of heavy cream at the base of a cold pan, heats it on medium until it’s bubbling, then adds the eggs.
“The cream will continue to bubble and eventually begin to separate and then caramelize as the eggs cook,” the caption of her Instagram post reads.
Having seen the results in her video, I’m tempted to give it a go (for journalism, of course).
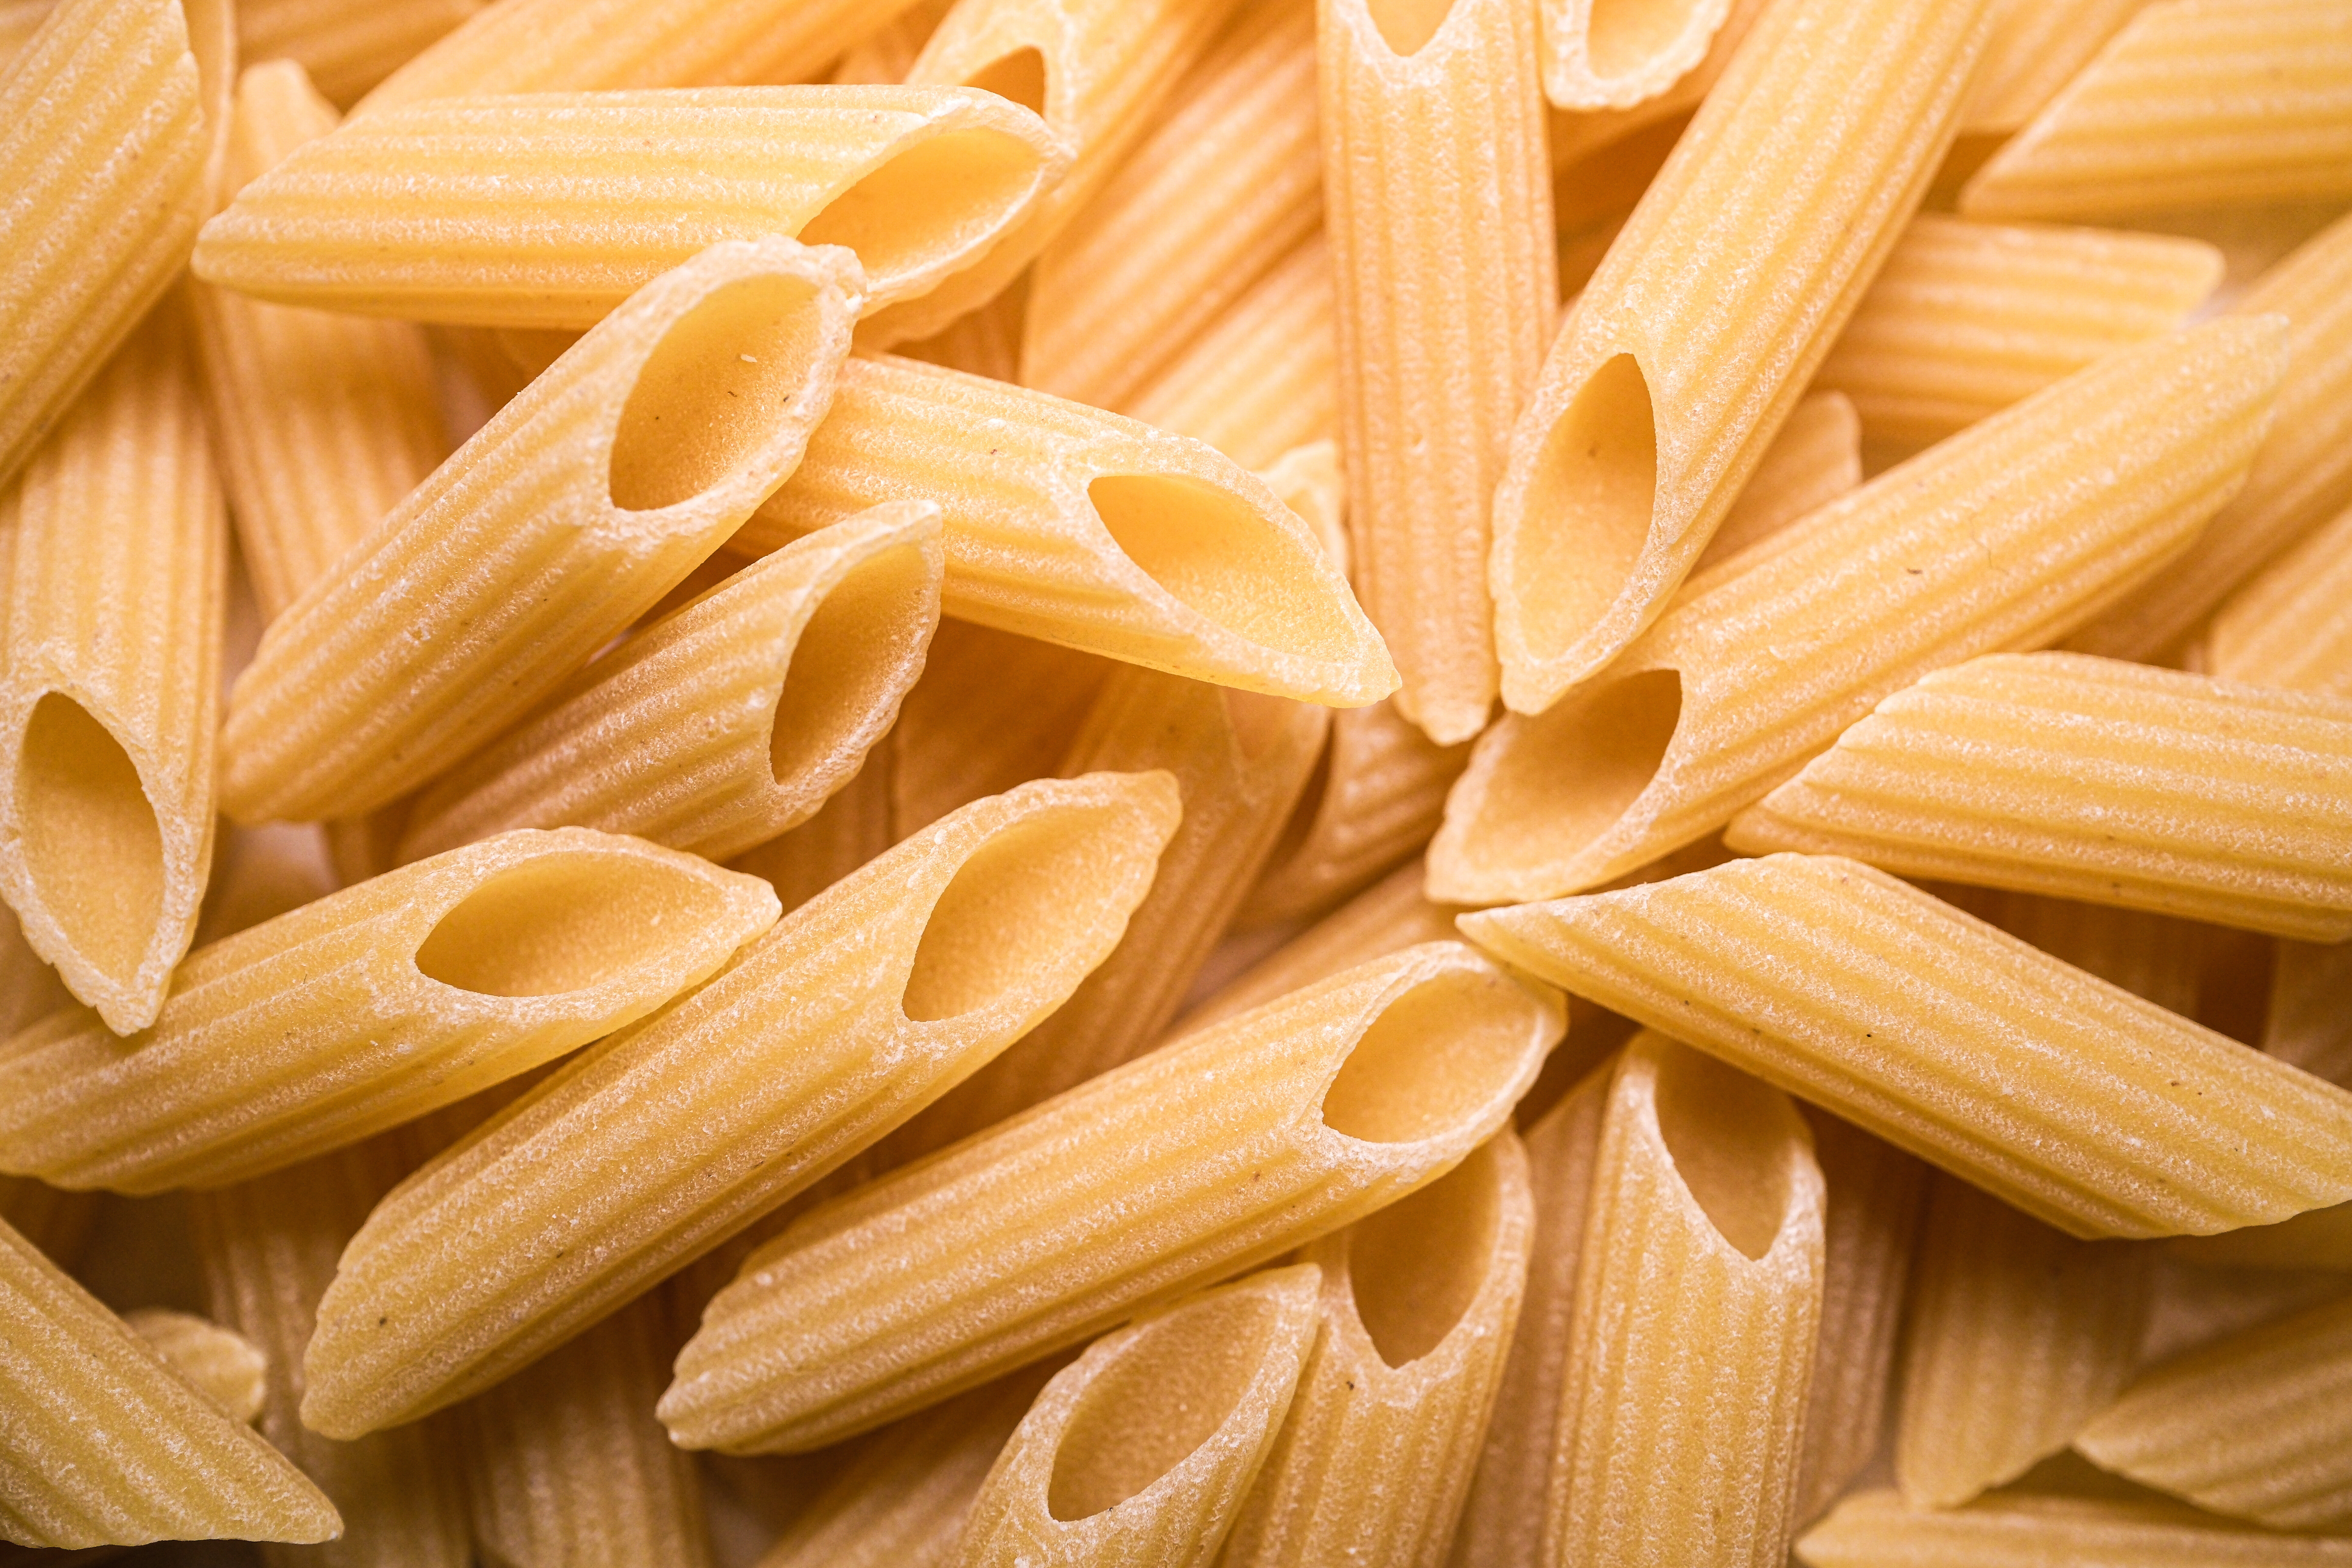
These days, I’m a great cook, but until maybe around 5-10 years ago, I was a bad cook who could throw together a pasta dish no problem. If there’s one thing I’ve always been able to do, it’s fire up a pasta dinner.
It’s simple, right? Bit of water, boil it, put some olive oil in, put some pasta in and cook for around 12 minutes until it’s soft, done. Right?!
Advertisement
Well, the fact that I’ve never been to Italy has never been quite as evident as when I recently learned that actually, no, my process is all wrong and I’ve been serving up what I can only describe as an offence to Italians and food-lovers alike.
For starters, did you know there’s a real science to how much water you should use to boil pasta and it isn’t just measured on vibes alone?
How to cook pasta the Italian way
According to the Italian cuisine experts at Eataly, you should use about 4 pints of water for every 450g of pasta. They added: “In general, the more pasta you are cooking, the more water you should use to prevent the pasta from clumping up too much in the pot.”
Additionally, you shouldn’t boil water before adding it to the pasta. Which I definitely wasn’t doing. Ahem.
Advertisement
The experts said: “While warm or hot water will boil faster, it may contain more dissolved minerals from your pipes, giving the water – and anything boiled in it–- a slightly metallic taste.”
As for the hotly-debated subject of adding salt or oil to the water, the experts recommend adding 1-2 teaspoons to the water once it’s boiled. As for adding oil? That’s a big no-no.
Eataly said: “You should never add olive oil to the water or to the pasta after draining. While it might help the pasta strands from sticking to each other, olive oil will also block other sauces from sticking to the pasta.”
Bacon is one of the most popular breakfasts in the UK, and with good reason. A few rashers placed in a sarnie with lashings of butter or a sauce of your choice? An unreal combination, tbh.
However, according to one chef, we’ve been getting something wrong when it comes to cooking bacon and it all comes down to how we cook it.
Advertisement
Posting on the /r/Cooking subreddit, user CleopatrasBungus asked: “What are some kitchen hacks that chefs use in the industry that home cooks would benefit from?”, and one chef really stepped up with their bacon hack.
The best way to cook bacon, according to a chef
User thePHTucker said: “Bake your bacon. It’s much more consistent, and there’s less chance of splatter burns. Any restaurant that cooks bacon in large amounts is going to cook it this way.”
To do this, line your baking pan with parchment paper, set the oven between 190-200°C for around 15-18 minutes, making sure to turn the bacon halfway through and cook until your desired level of crispiness is reached.
Advertisement
Oven cooked bacon can be stored in a sealed container and refrigerator for up to two days.
The best type of bacon to cook with
If you’re anything like me, you’ve probably spent time in the supermarket looking at all the different types of bacon, wondering which one is best for your dish.
Well, thankfully, the folks at BBC Good Food have exactly the answer that we’re looking for. They said: “To achieve super-crispy bacon, opt for the streaky kind. It can be used in salads, crumbled over macaroni cheese or sprinkled on soups.”
Now, I am a Mary Berry STAN. I love her. I love her recipes, I love seeing her on TV and I stopped watching Bake Off when she left because, truly, what’s the point?
Take, for example, the tomato soup that I found in there today. It’s a ‘summer’ tomato soup which means it’s eaten cold and not cooked but also… there are… no actual tomatoes that need to be chopped for this recipe?
I swear, I had to keep re-reading because I thought I’d missed a step but apparently I didn’t and neither did Mary herself because this is still an entire soup.
I can only put it down to the 70s being a little weird.
Mary Berry’s Tomato-Less Tomato Soup Recipe
So. If you’re feeling like a yoghurty gazpacho is on your bucket list, you may want to try this vintage recipe. It’s not for me personally but as Mary says in the recipe itself, “it’s very much a sophisticated taste” and what can I say? I’m an uncultured buffoon.
Advertisement
So, for this alternative tomato soup recipe, you’ll need:
500ml of natural yoghurt
500ml of tomato juice
The juice and grated rind of a lemon
1/2 cucumber, cut into 5cm cubes
Salt
Ground black pepper
Worcester sauce
Cucumber slices for garnish
… Told you! No tomatoes! Juice tomato juice!
Then you simply:
Whisk together yoghurt and tomato juice
Stir in lemon juice, grated lemon rind and cucumber
Season well and add Worcester sauce
Serve chilled and garnished with thin slices of cucumber
This comes from a vintage cookbook of Mary’s from 1975: Beating The Cost Of Cooking and while I likely wouldn’t choose this meal, I’ll cherish this throwback cookbook forever.
The words ‘national treasure’ are thrown around far too lightly for my liking but when it comes to Mary Berry, they absolutely apply. First appearing on our screens in the 70′s, Mary has been teaching the nation to cook and bake for longer than I’ve been alive.
My first real exposure to her was obviously Great British Bake Off where her cheeky little smiles were a perfect sidekick to co-host Paul Hollywood’s gentle snark. Racing over to my friend’s after work, we’d tuck into some pasta, share a bottle of wine and talk about whether it was too late for Mary to adopt us as her granddaughters.
Advertisement
With all of this fangirling in mind, it’s probably not a surprise to learn that I forked out for a vintage cookbook of Mary’s from 1975: “Beating The Cost Of Cooking”. It’s yellowed, bent a little in the middle and perfect.
Mary Berry’s vintage scrambled eggs recipe
I bought this book mostly to learn how much not only Mary’s cooking has changed over almost 50 years but how much food trends have changed in general. It’s a great read but there are some that I’m glad stayed right where they belong. In the 70s.
Take for example, the ‘sweet corn scramble’. I don’t know if it’s because I hate sweetcorn or because the illustration is… vile, but this one really got my stomach turning.
Advertisement
Anyway, if sweetcorn isn’t an issue for you, you can try this vintage scrambled eggs recipe from Mary herself.
You’ll need:
6 eggs
6 tbsp milk
salt and pepper
15g of butter
175g of drained sweetcorn
toast
Then, simply beat your eggs in a bowl with milk, salt and pepper. Melt the butter in a pan and make scrambled eggs in your usual way. Just before the eggs are ready, stir in drained sweetcorn and cook until hot. Pile on toast and serve at once.
Despite this cursed illustration haunting my nightmares, I still love you Mary.
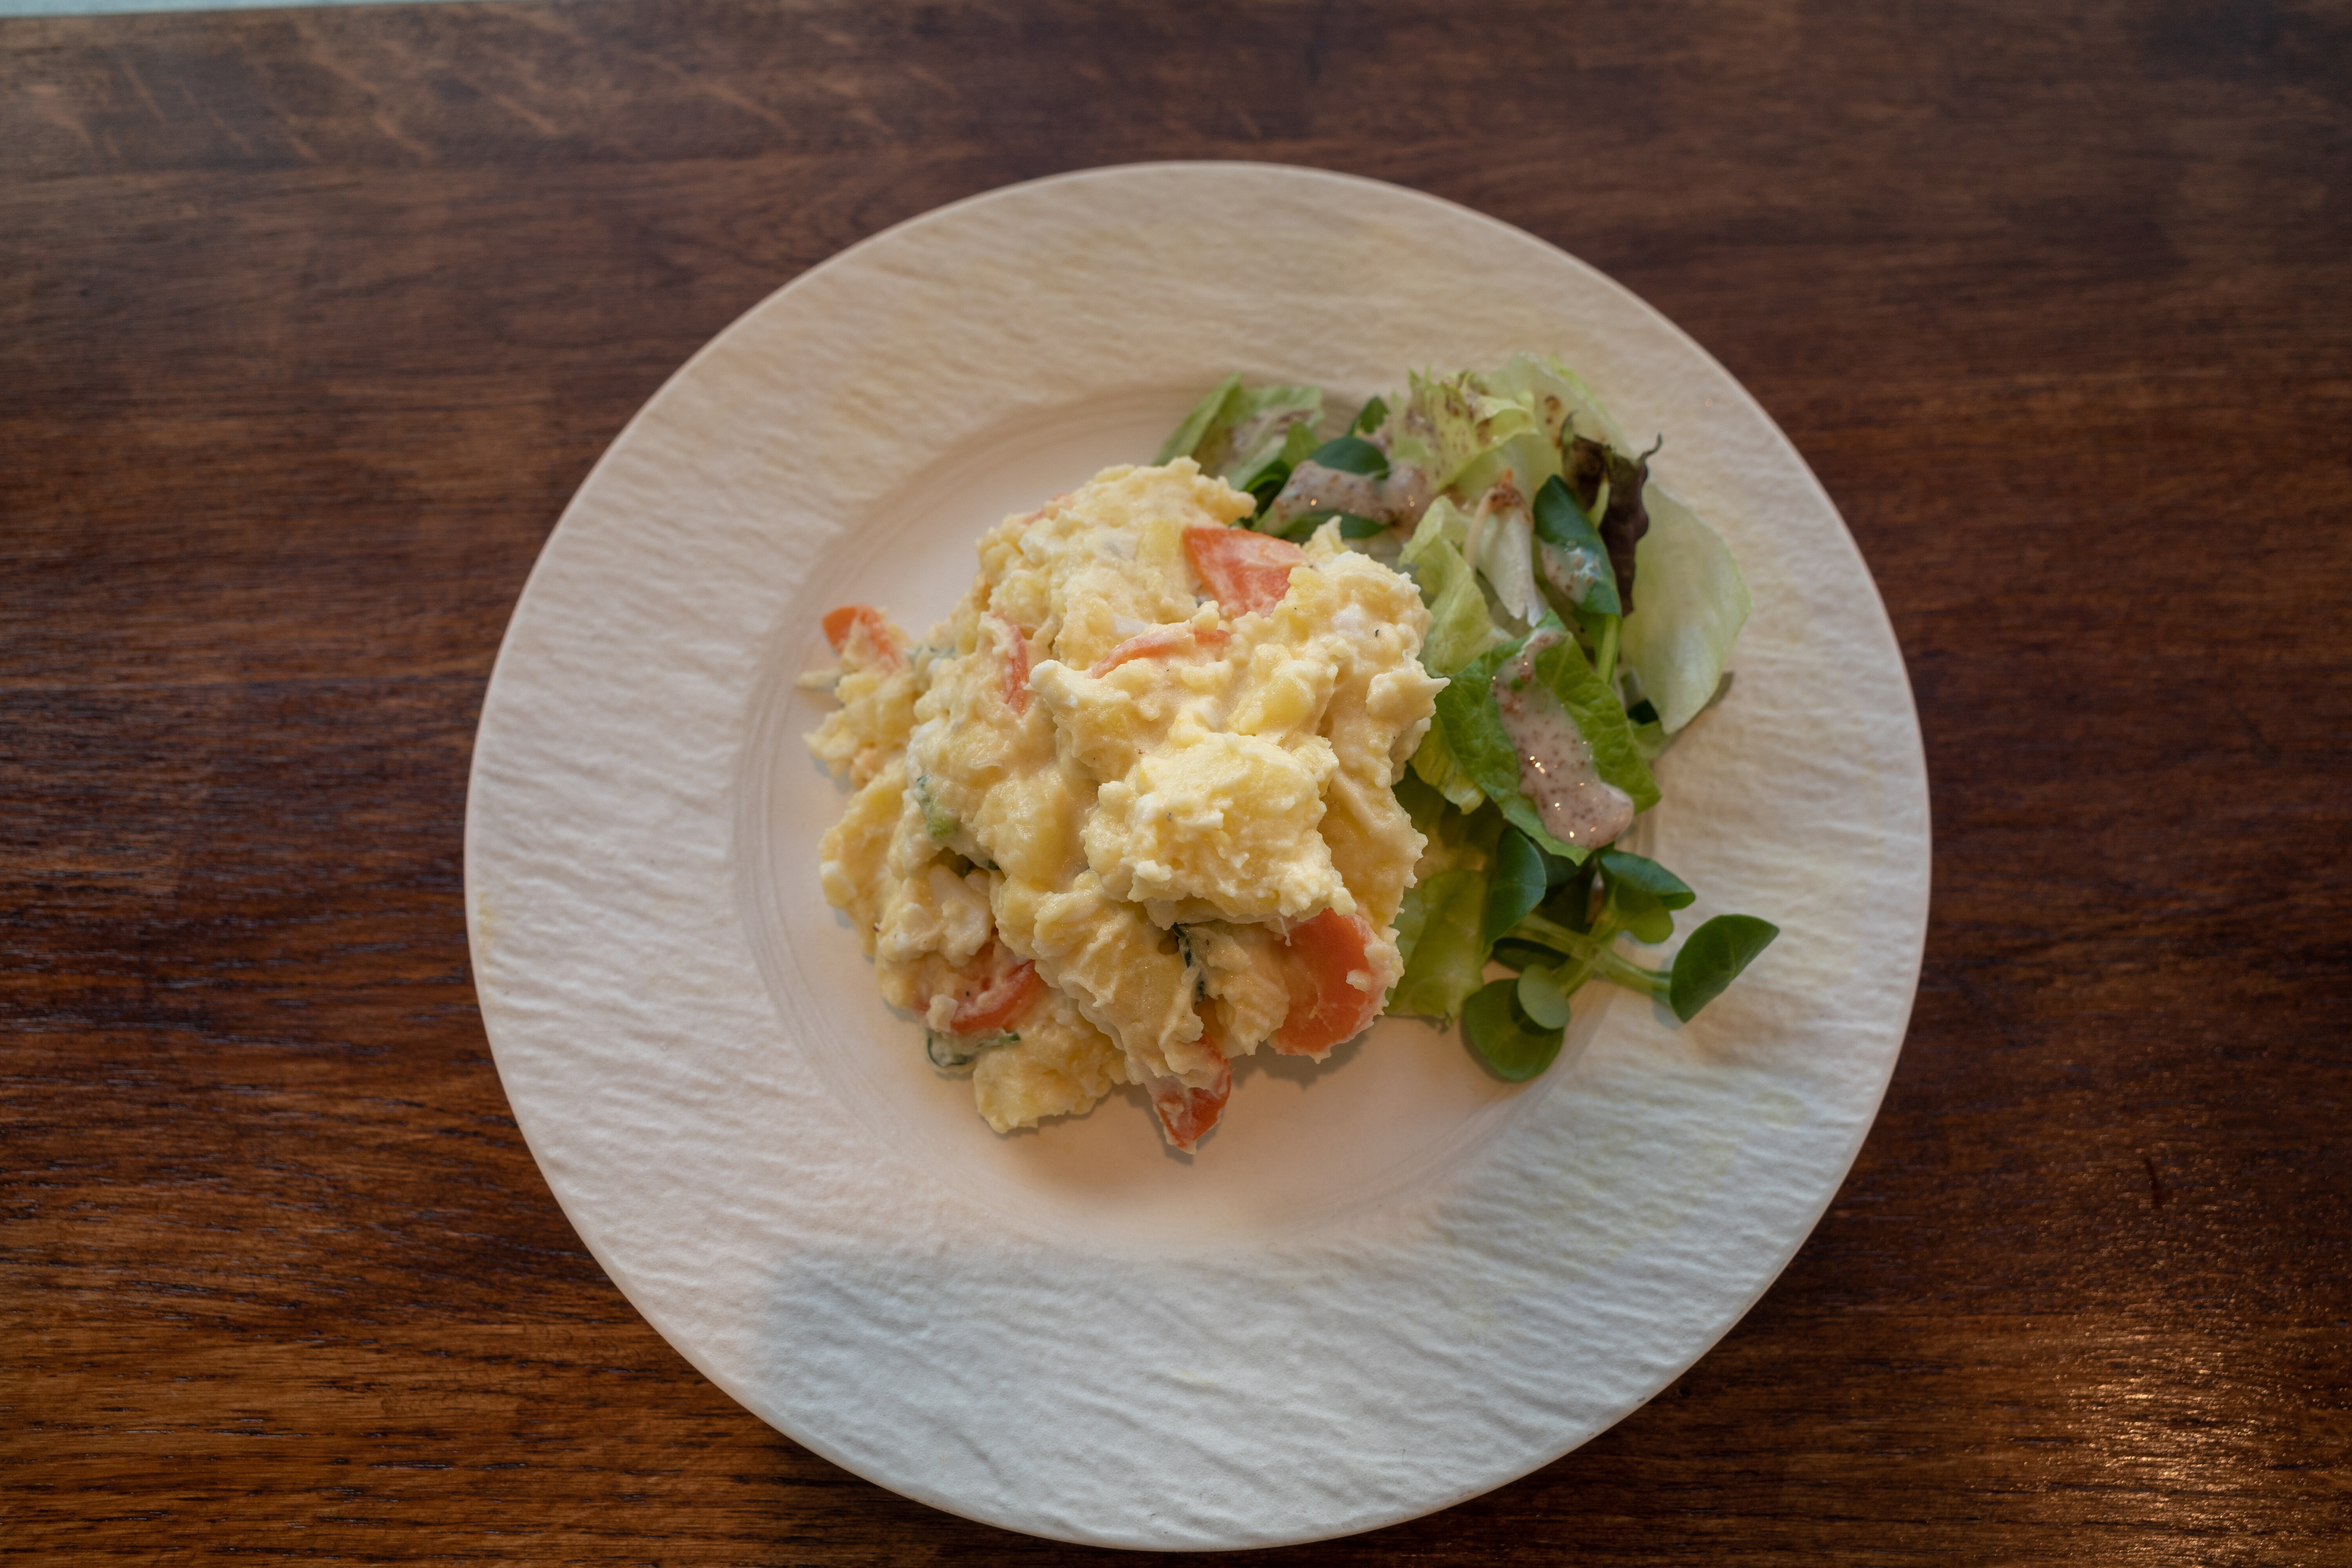
I can stand some Irish stereotypes; actually, yes, we do all know each other (more or less). And yep, we love potatoes ― what sane person wouldn’t?
I like mine baked, fried, chipped, boiled, mashed, and, uh, be-saladed (?). But It wasn’t until I read Mary Berry’s version of the dish that I started eating it on its own for lunch.
Advertisement
That’s because the Cordon Bleu-trained chef adds tasty (and omega 3 and protein-rich) salmon and prawns to her dish, not only making it more delicious but also turning it into a more balanced meal.
In fact, the dish is so tasty that it’s earned a five-star rating on its BBC page ― having tried it myself, I can understand why.
The dish also contains radishes
The tasty addition of radishes to the dish adds a crisp and peppery bite to the meal, balancing out the mushy spuds and tender fish.
It holds up well during storage, too ― in fact, all of this recipe does. “The potato salad can be made a day in advance and stored in the fridge, adding the radish, freshly cooked salmon and the prawns up to four hours ahead,” the BBC’s page suggests.
Advertisement
In order to hold up longer against refrigeration, Mary Berry recommends using thicker, middle-cut salmon from the centre of the fish, rather than the tail.
The result is a delicious, balanced dish with loads of contrasting texture and complex flavours ― way, way better than your standard spud salad.
What’s the recipe, then?
You’ll need three middle-cut salmon fillets, each weighing 125 grams or four and a half ounces, with their skin left on. Additionally, the recipe calls for one lemon and 16 cooked tiger prawns.
For the potato salad, you’ll need 500 grams of baby new potatoes, four tablespoons of olive oil, three tablespoons of Dijon mustard, one tablespoon of caster sugar, and three tablespoons of white wine vinegar.
You’ll also require six tablespoons of mayonnaise, one bunch of thinly sliced spring onions, 150 grams of thinly sliced radishes, four finely chopped celery sticks, one small bunch of finely chopped flatleaf parsley, salt, and freshly ground black pepper. This makes enough for six people.
Advertisement
Preheat the oven to 180°C/160°C Fan/Gas Mark 4, and line a baking tray with kitchen foil.
To prep the salad, place the potatoes in a saucepan of salted water and bring them to a boil. Allow them to cook for approximately 15 minutes or until they are tender ― once they’re cooked, drain them and then slice ’em into quarters.
While the potatoes are cooking, place the salmon fillets skin-side down on the foil-lined baking tray. Squeeze half of the lemon juice over them and season them with salt and pepper. Cover the fillets with foil, seal to make a parcel, and bake for about 15 minutes or until just cooked. Once that’s done, remove them from the oven and let them cool before removing the skin.
For the salad, combine oil, mustard, sugar, and vinegar in a large bowl. Add the hot potatoes, season with salt and pepper, and set aside to cool. After that, you can mix in the mayonnaise, spring onions, radishes, and celery. Adjust the seasoning to your taste and add the remaining lemon juice.
Gently flake the cooked salmon into large pieces and stir it into the salad with the prawns and half of the chopped parsley, ensuring you don’t accidentally mash any spuds. Serve sprinkled with the remaining parsley.
Voila ― you’ve got an elite potato salad that’s bulky and balanced enough to count as a full meal (at least, I’ve eaten it for dinner with a baguette twice this week).
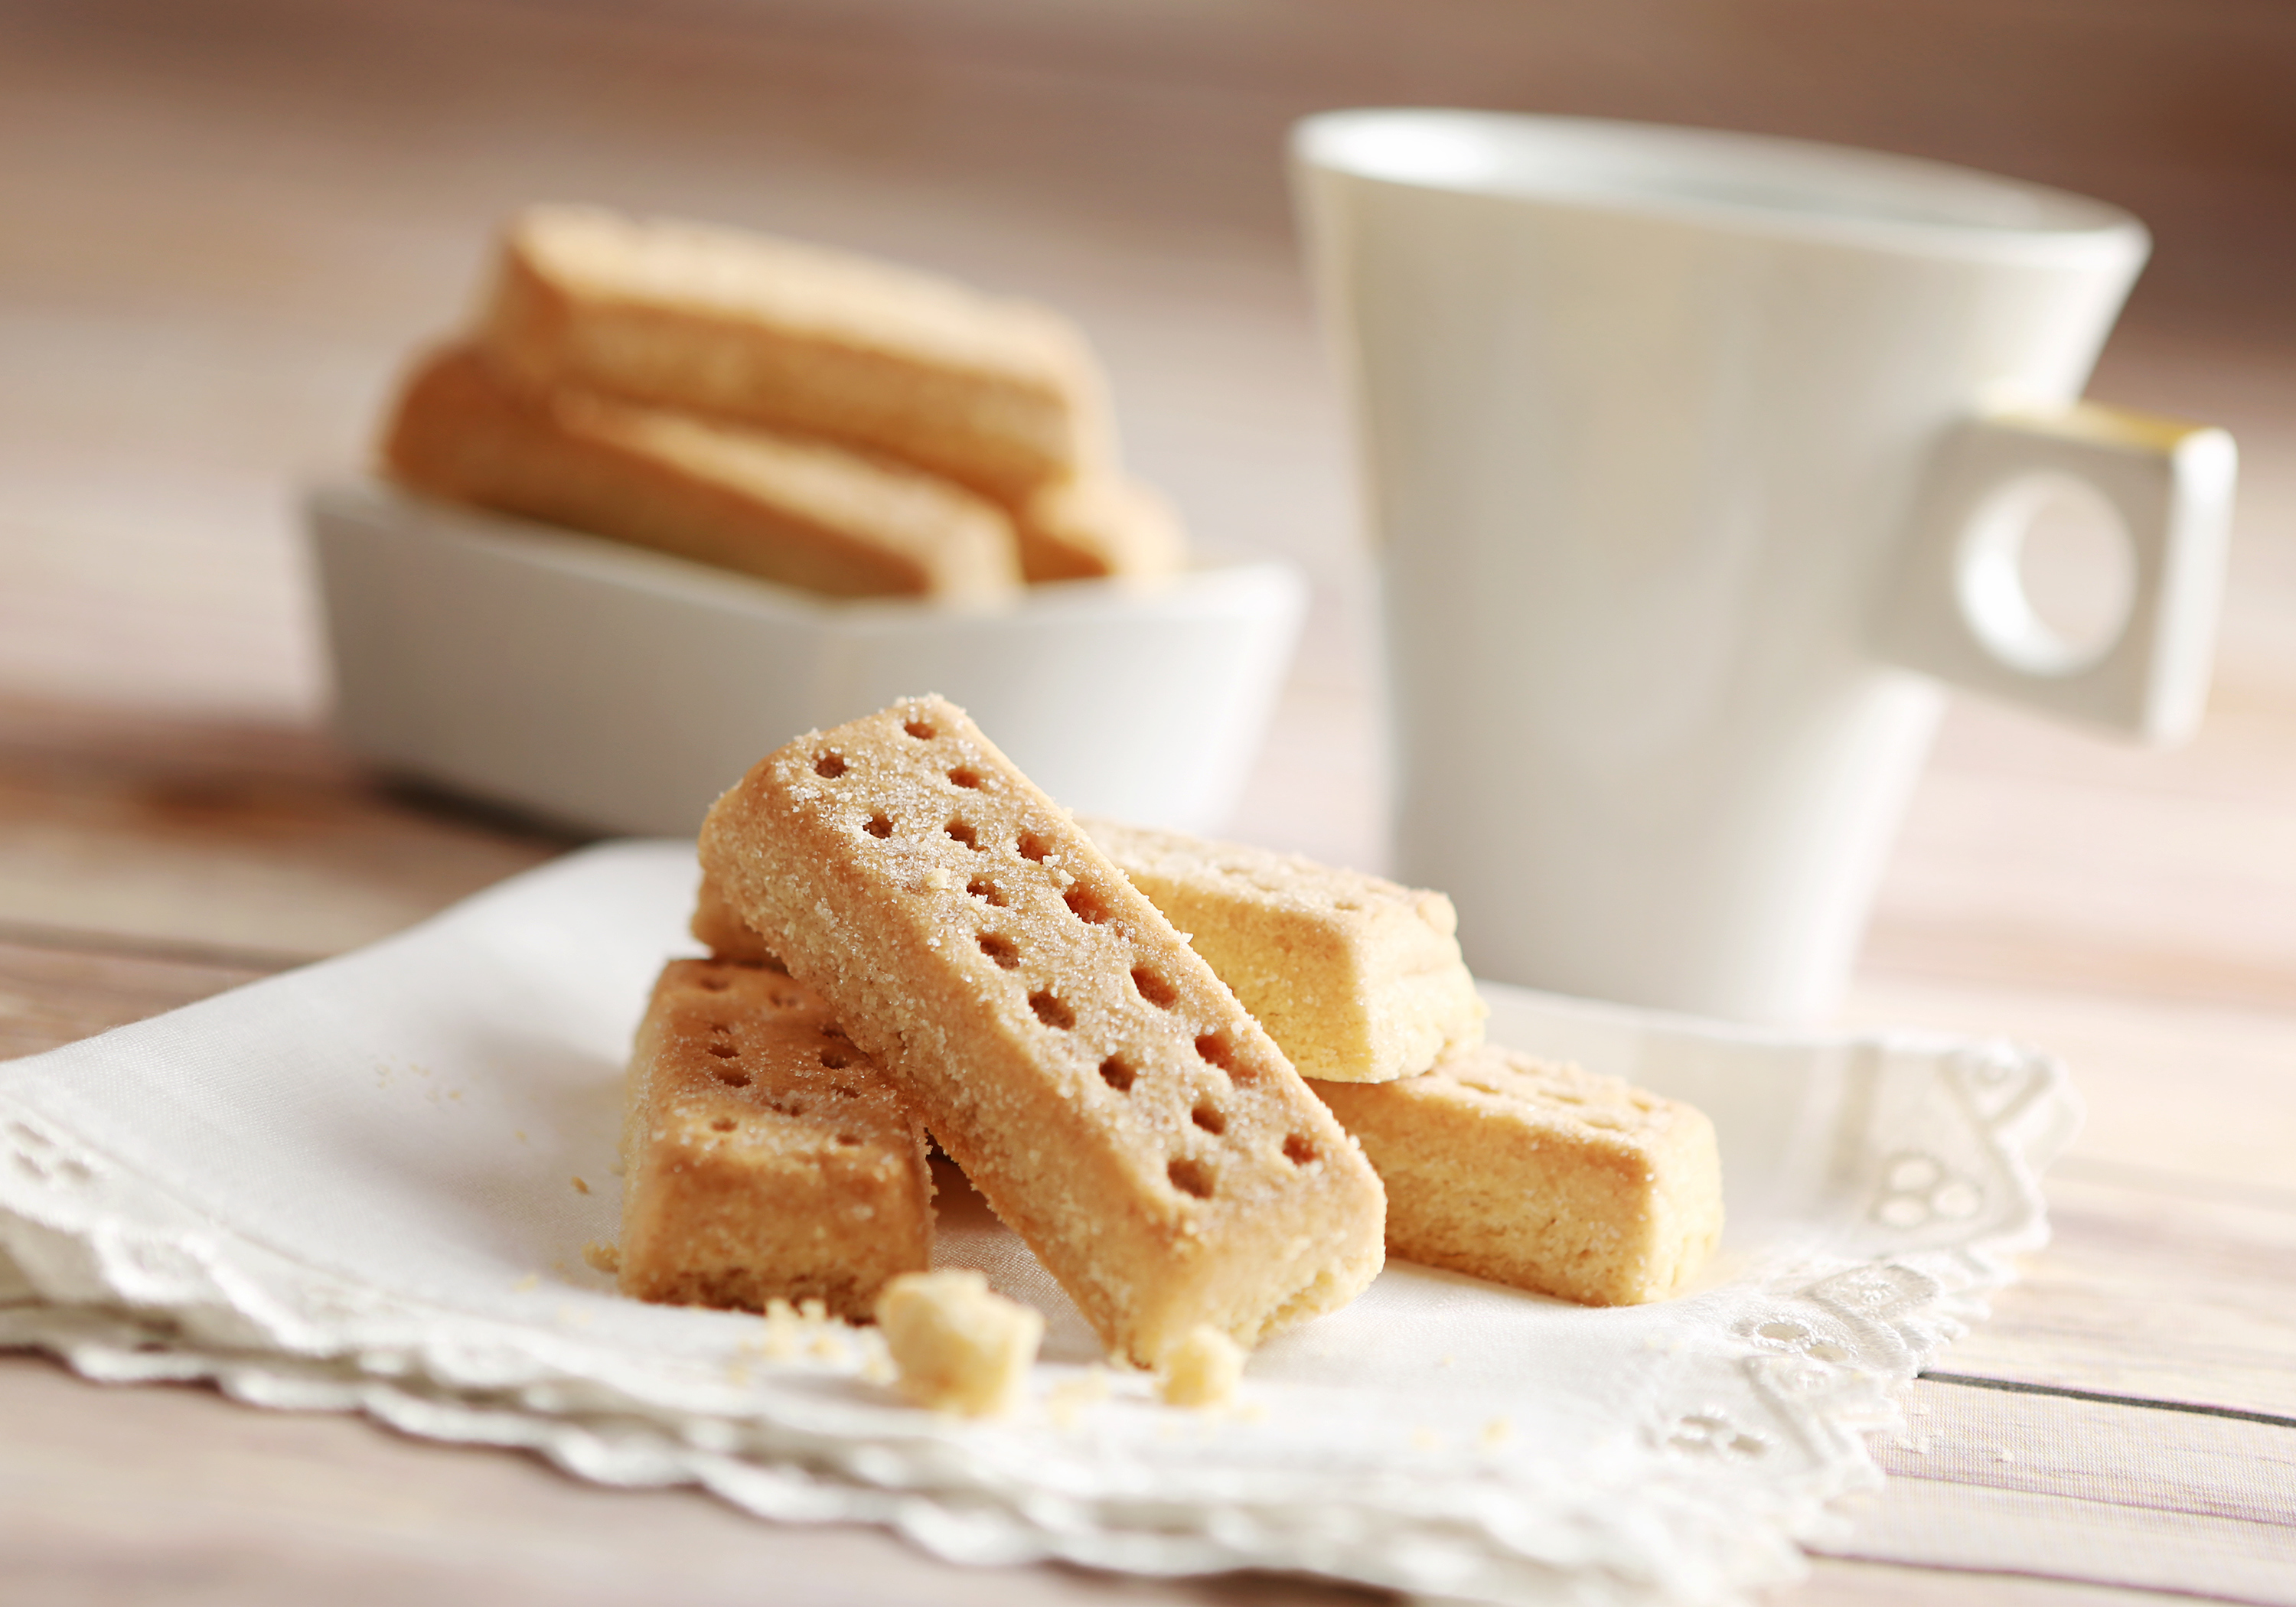
And now, it seems the Cordon Bleu-trained chef has a secret for shortbread, too.
In her recipe for the simple Scottish delicacy, Mary Berry goes beyond the typical sugar-flour-butter recipe we’d expect.
Advertisement
Instead, she adds another ingredient for extra crunch ― semolina (yup, like for her roast spuds).
Why semolina?
Semolina is a hard flour, the less finely-milled version of durum wheat (which is used for pasta).
It has more gluten and protein than all-purpose wheat four, as well as more flavour. And because it’s coarser, it doesn’t become soft and fluffy as easily as all-purpose flour ― meaning it’ll help to provide a structure and bite to your baked goods.
“I like to use semolina as well as flour to give the shortbread crunch, but you can use cornflour or ground rice instead,” Mary Berry says.
What’s Mary Berry’s shortbread recipe?
First, you should preheat your oven to 160°C/Fan 140°C/gas 3, and grease a 30cm x 23cm roasting or traybake tin.
You’ll need 225g (8oz) of plain flour, 100g (4oz) of semolina, 225g (8oz) of butter, 100g (4oz) of caster sugar, 50g (2oz) of flaked almonds (there aren’t mandatory), and 25g (1oz) of demerara sugar for dusting.
Advertisement
Combine the flour and semolina in a bowl or food processor. Incorporate the butter and sugar, then use your fingertips to rub them together until the mixture starts to come together. Gently knead the mixture until it forms a smooth dough.
Spread the dough into a baking tray and then press its top until even with a knife or spatula. Then, prick its surface with a fork, add your flaked almonds if you like, and store it in the fridge to chill until it’s firm.
After it’s chilled, bake it for 35 minutes or until lightly golden brown. Sprinkle it with demerara sugar after it leaves the oven. Then, after a few minutes, cut it into 30 fingers in the tin and leave those to cool further on a cooling rack.
Enjoy ― store any leftovers on a cooling rack (though I’d be amazed if you had any.)
Whether you’re new to cooking or you’ve been doing it for decades, it’s entirely possible you have no idea what you’re doing in certain areas. One particular topic that home cooks struggle with is understanding the differences between parchment paper, wax paper, aluminium foil and freezer paper, and when to use which one.
And trust us, mixing them up could legitimately ruin your recipe in some cases.
What’s the difference, and which materials are interchangeable? We talked to the experts to clear up any confusion you might have. Read on for the inside scoop on exactly when to use parchment paper, aluminium foil, wax paper and freezer paper — and exactly when you shouldn’t.
Parchment Paper
FreshSplash via Getty Images
Parchment paper is a godsend for baking, when you want cookies to slide right off the cookie sheet.
Advertisement
Thanks to its versatility, parchment paper is the shining star of the kitchen. It’s an odourless paper made from cotton fibre and pure chemical wood pulps that’s been coated with silicone. In addition to being nonstick, it’s heat- and moisture-resistant.
Parchment can be used for many kitchen tasks, but it’s best known for acting as a liner for baking sheets and pans, helping to promote even cooking and food not sticking. And according to Laura Ritterman, the cook behind the food blog Recipe Fairy, it also makes cleanup a whole lot easier. Think: being able to slide roasted veggies, cookies, fish and more right off the baking sheet with no mess.
“You can also line parchment paper on your kitchen counter to aid in cleanup,” said Christina Musgrave, a professional recipe developer. Because it’s nonstick and moisture-repellent, you can do all of your chopping, mixing, kneading and rolling on top of a layer of parchment, then toss it when you’re done, saving you the trouble of scrubbing down your countertops later.
Despite being super-versatile, parchment paper can only be used up to a certain temperature. “You can normally use parchment paper up to around 420 degrees Fahrenheit,” Musgrave said. “Heating it over that temperature can risk it catching on fire.” For safety purposes, always know the heat limit of the brand of parchment paper you’re using while cooking.
Advertisement
As for what to use as a substitute if you find yourself out of parchment paper, that depends on what you’re planning to use it for.
“Foil can be used to help prevent food from sticking, so long as it’s well-greased,” Ritterman said. (Or, if you’re specifically using a nonstick foil.) “It’s not as good as parchment paper, but can be used in a pinch if you don’t have any.” For easier cleanup, wax paper is a good choice for covering countertops.
Aluminium Foil
MirageC via Getty Images
Runner-up in the versatility department is aluminium foil, which is made of over 98% aluminum ― the balance of which consists mainly of iron and silicon for added strength and puncture resistance. During the final rolling, two layers of foil are passed through the mill at the same time. The side that comes into contact with the polished steel rollers becomes shiny, the other side dull.
This is why, despite popular belief, it doesn’t matter which side of the foil contacts your food. (The only exception to this is nonstick foil, which does have a dull side that’s nonstick ― perfect for cooking foods that are cheesy or sticky.)
Advertisement
Where aluminum foil really shines (pun totally intended) is with high-heat cooking, like grilling and broiling. Any recipes that require cooking foods at a higher temperature than your parchment paper can hack, that’s where foil comes in.
Another handy skill? “Aluminium foil helps with even cooking or baking in the oven, mitigating the burning of food before it has finished cooking,” Ritterman said. “This is great for things like casseroles, roasts or pies.”
Say you don’t want your turkey or casserole to over-brown ― make a foil tent by placing a sheet of foil over your roasting pan or casserole dish, leaving a 1-inch gap between the top of your food and the foil tent for heat circulation, then crimp the foil onto the long sides of the pan so it stays put.
To keep your pie crust from burning while the centre bakes, foil to the rescue: Take a 12-inch foil square and fold it into quarters. Cut out the centre and round off the edges so you’re left with a ring that’s two inches wide. Unfold the ring and place it over your pie, removing it for the final 20 minutes of baking time.
“Because foil easily holds its shape, you can also wrap foods (meat, potatoes) to prevent them from losing moisture as they cook, as well as make foil packs of food to pop in the oven or on the grill,” Kyrie Luke, recipe developer and blogger at Healthfully Rooted Home, told HuffPost. (It’s an especially effective strategy for more delicate foods, like veggies and fish.)
Advertisement
But you should never use aluminium foil in the microwave. “Since aluminium foil is metal, it can heat so quickly that it can cause a spark and catch on fire,” Musgrave warned.
The best replacement for foil is parchment paper — specifically, for oven cooking and making food packs. For high-heat cooking, however, aluminium foil is difficult to replace, with the closest options being grilling papers and oven and barbecue bags.
If you’re not sure whether to go with aluminum foil or parchment paper, just remember: Grill or broil, go with foil.
Wax Paper
picture alliance via Getty Images
Wax paper is a good idea if you’re decorating already-baked cookies, but you should never bake cookies on it.
Wax paper is tissue paper that’s triple-waxed with a food-safe paraffin coating. It’s best known for covering countertops ― you can measure dry ingredients, such as flour, over wax paper and avoid a messy countertop during baking and cooking.
Advertisement
“It’s similar to parchment paper in that it can be used to keep food from sticking to surfaces, such as allowing chocolate-covered strawberries to harden or delicate artwork for cakes and pastries,” Ritterman said. It can even line pans for non-baked items, such as fudge or no-bake desserts to make cleanup easier.
Unlike parchment, wax paper shouldn’t be used in cooking situations that require heat. “Never use wax paper in the oven, microwave, grill or anything that conducts heat,” Luke said. “The wax will melt and it may cause a fire.”
The only exception to this rule is that wax paper can be used for lining cake pans for baking cakes. Because the cake batter completely covers the wax paper and absorbs much of the heat, the wax paper won’t smoke or melt.
The easiest way to remember whether to go with parchment or wax paper is to picture a burning candle as a reminder that wax melts. “The last thing you want is waxy food ― or a kitchen fire,” Luke said.
Freezer Paper
Freezer paper is a thicker paper that’s used for, you guessed it, freezing food. “It’s best known for wrapping meats and seafood for freezing to seal in juices and protect them from freezer burn,” Musgrave said.
Advertisement
One side of the paper is coated with either wax or plastic and provides a barrier to air and moisture that helps prolong the freshness, flavor and nutrition of your food while frozen, helping it last in your freezer for up to one year. Because the other side of the paper isn’t coated, it can be used to mark down the contents and pack date of the wrapped food.
Since freezer paper has a wax or plastic coating, it shouldn’t be heated ― otherwise, the wax or plastic will melt and ruin your food.
In a pinch, you can use heavy duty aluminium foil as freezer wrap, but because it can be torn and punctured easily, it’s best to use an overwrap, too.
“Wax paper can also replace freezer paper if you plan on eating the stored food in a short period of time,” Ritterman said. It’s not moisture-vapour resistant the way freezer paper is, though, so for longer storage times, freezer paper all the way.